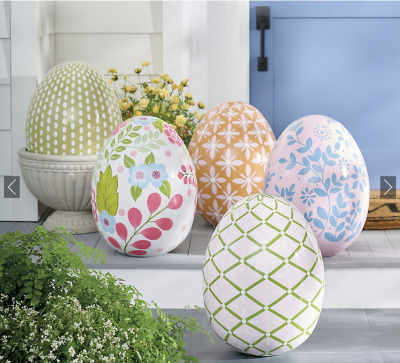
I was fascinated by these colorful porch Easter eggs displayed in a home décor catalog. I really loved the idea, but they were too pricey for me. So I decided to recreate the look myself—for a lot less—while adding my own creative touches.
If you'd like to try this holiday décor project yourself, I've included a list of the materials and craft tools I used. Any purchase through the Amazon links below may earn me a small commission — it helps me keep this space updated with new seasonal decorating ideas!
BRINGING IT TOGETHER
Click or tap image for larger view.
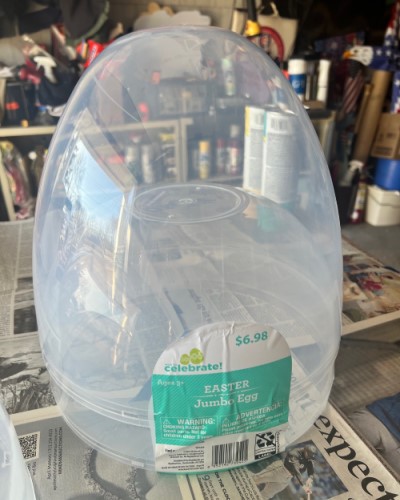
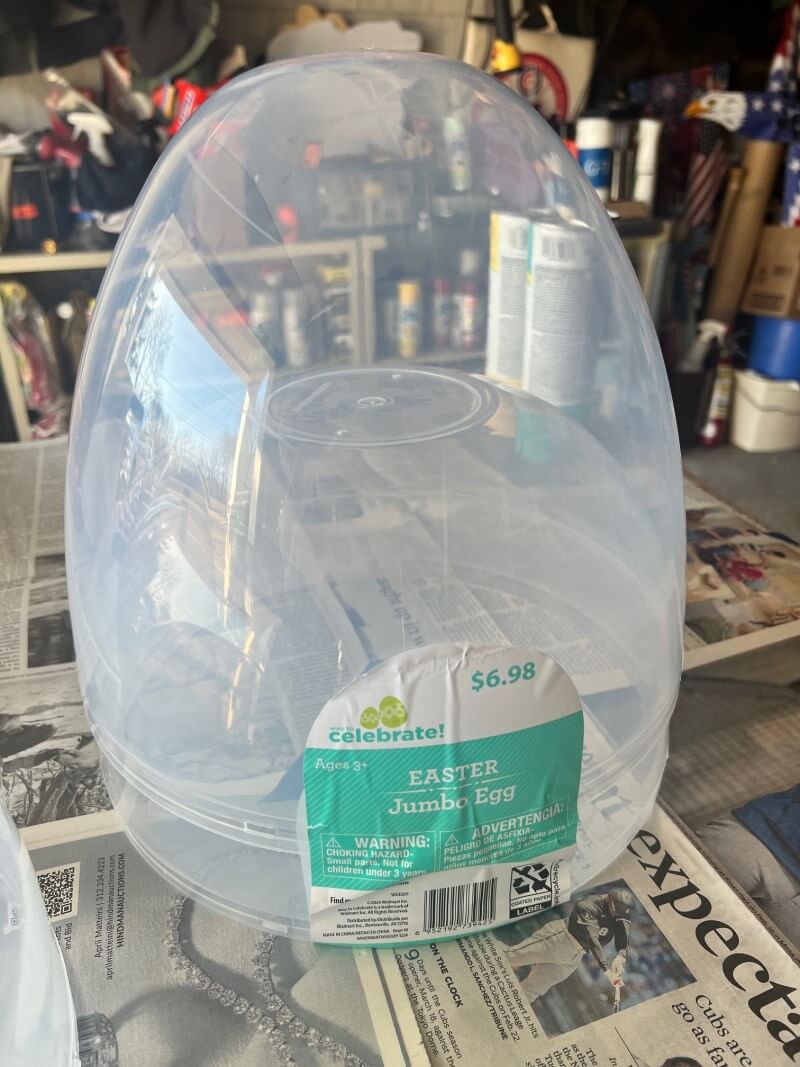
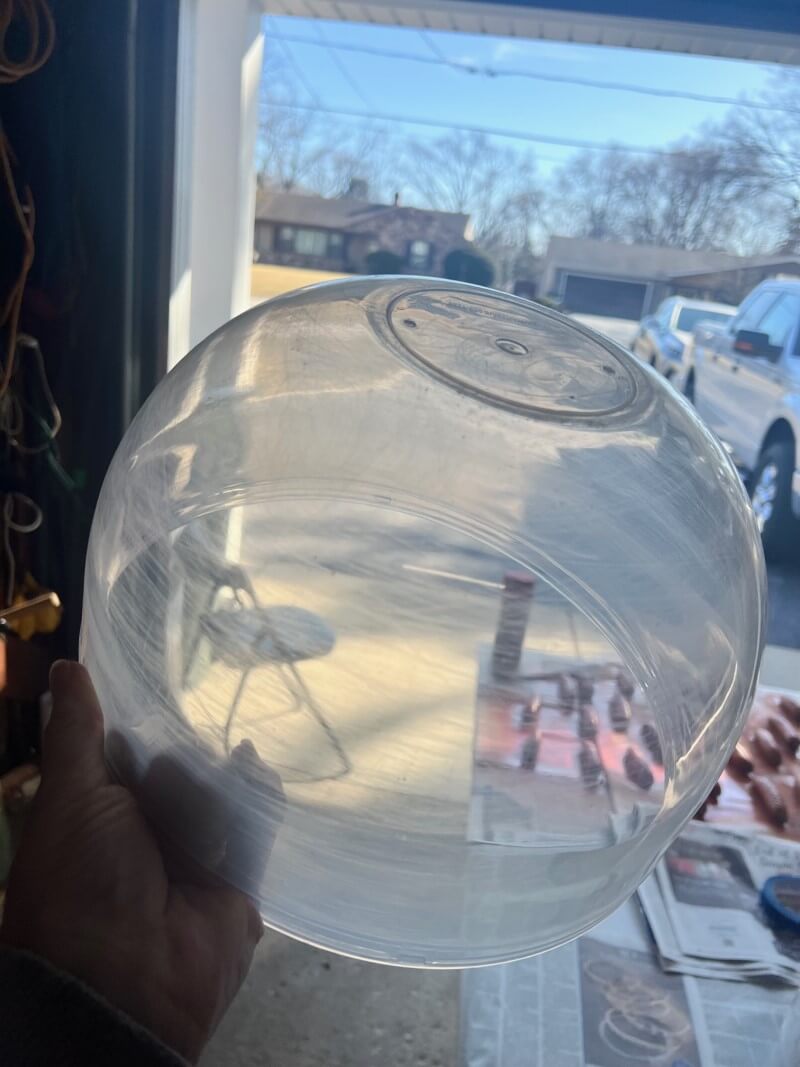
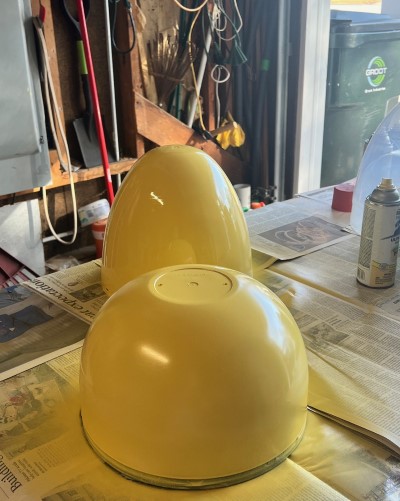
1First, purchasing large eggs. I went with plastic and an egg that separates. I found them on Amazon and Walmart, but Walmart had the better price at the time so I went with them. These are 16” eggs and I got them for $7.00 each.
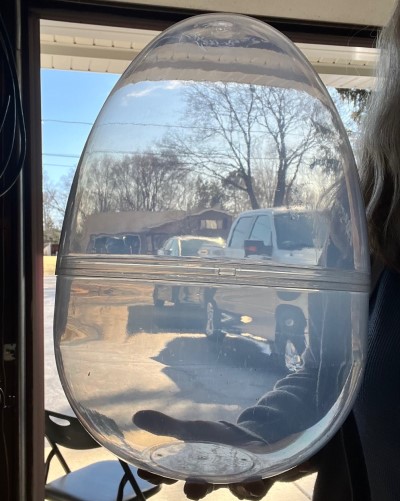
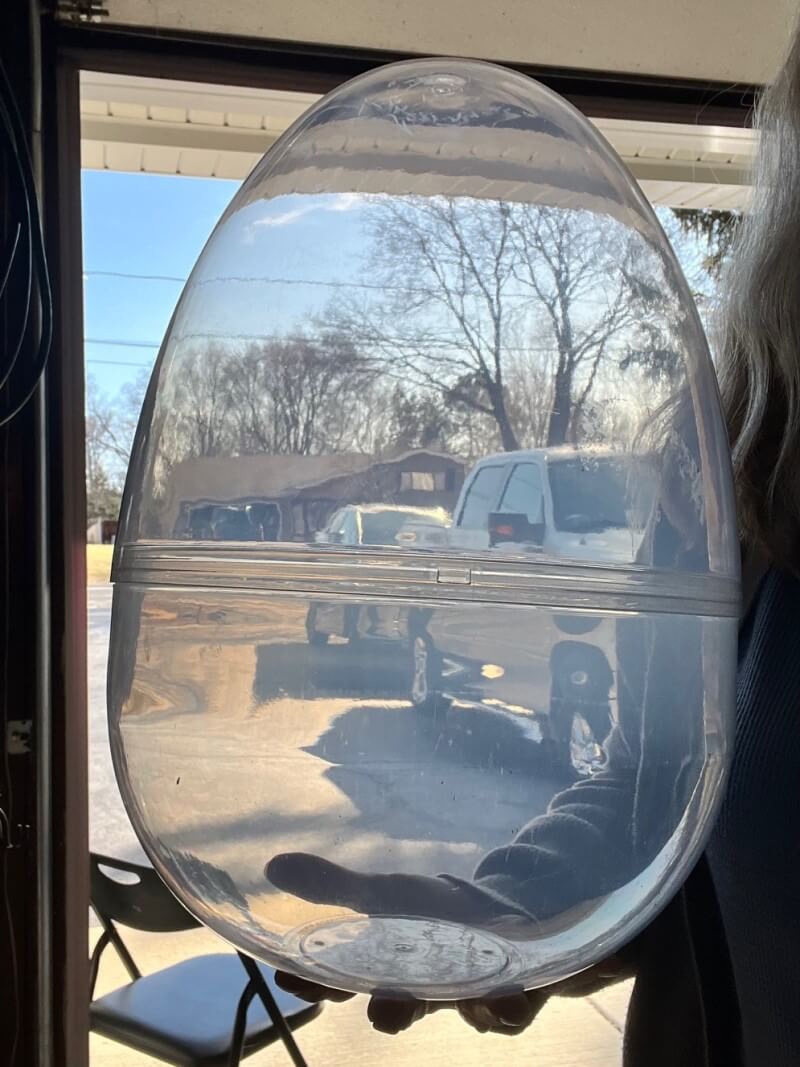
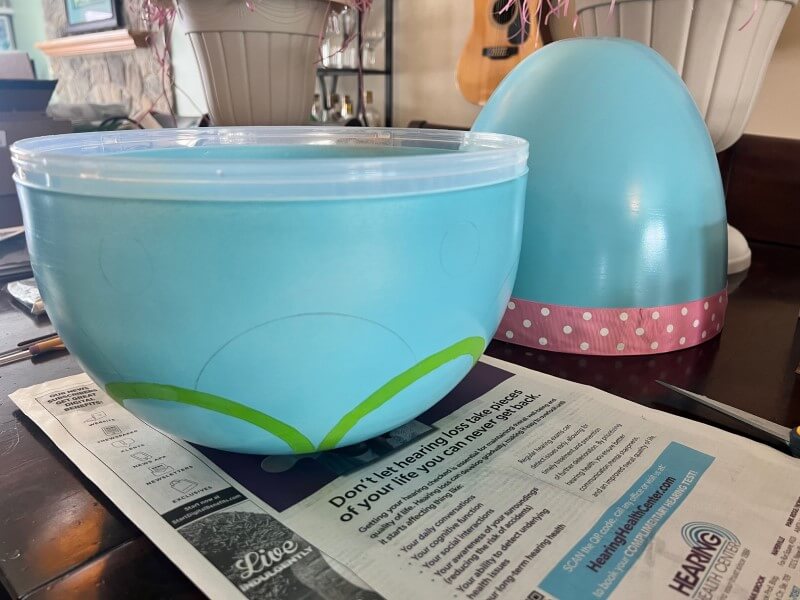
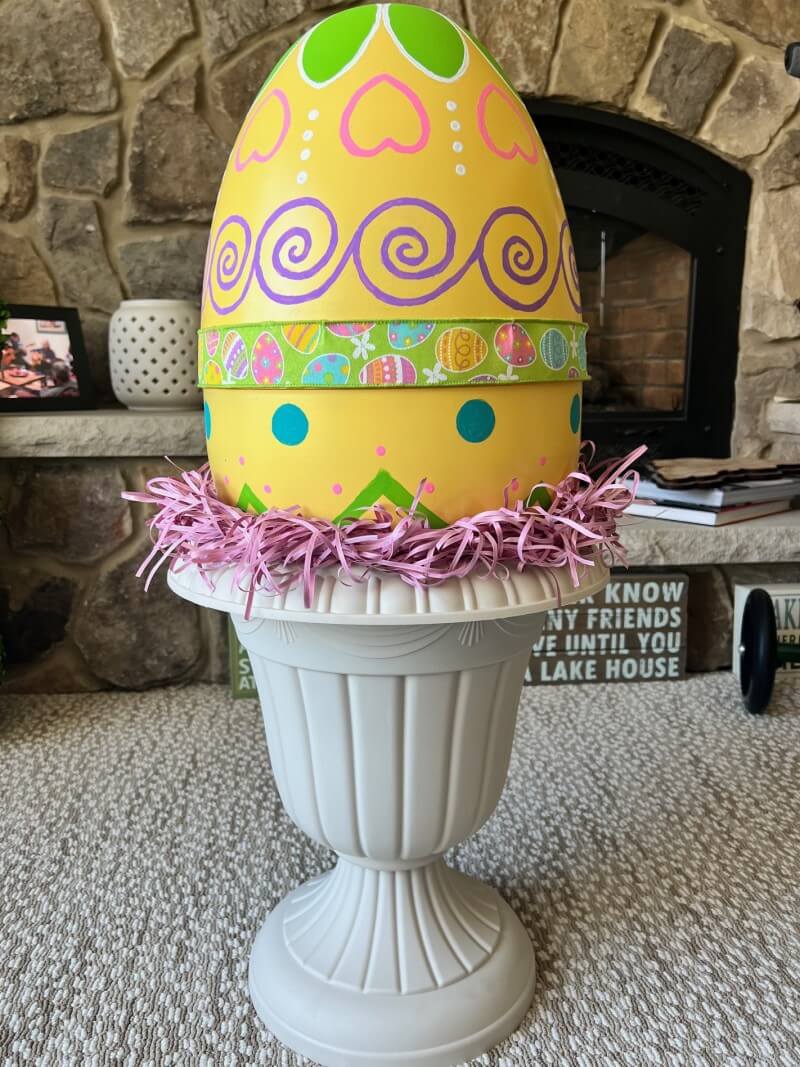
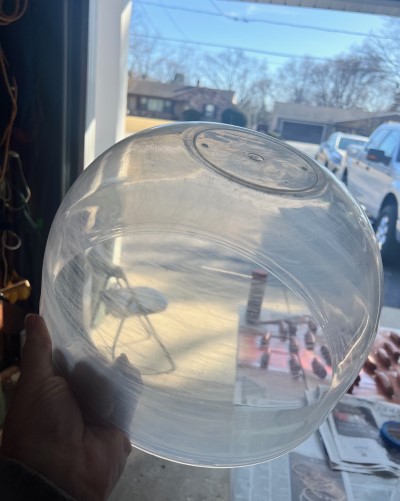
2This is how they look when put together and I’m holding it to give a sense of size.

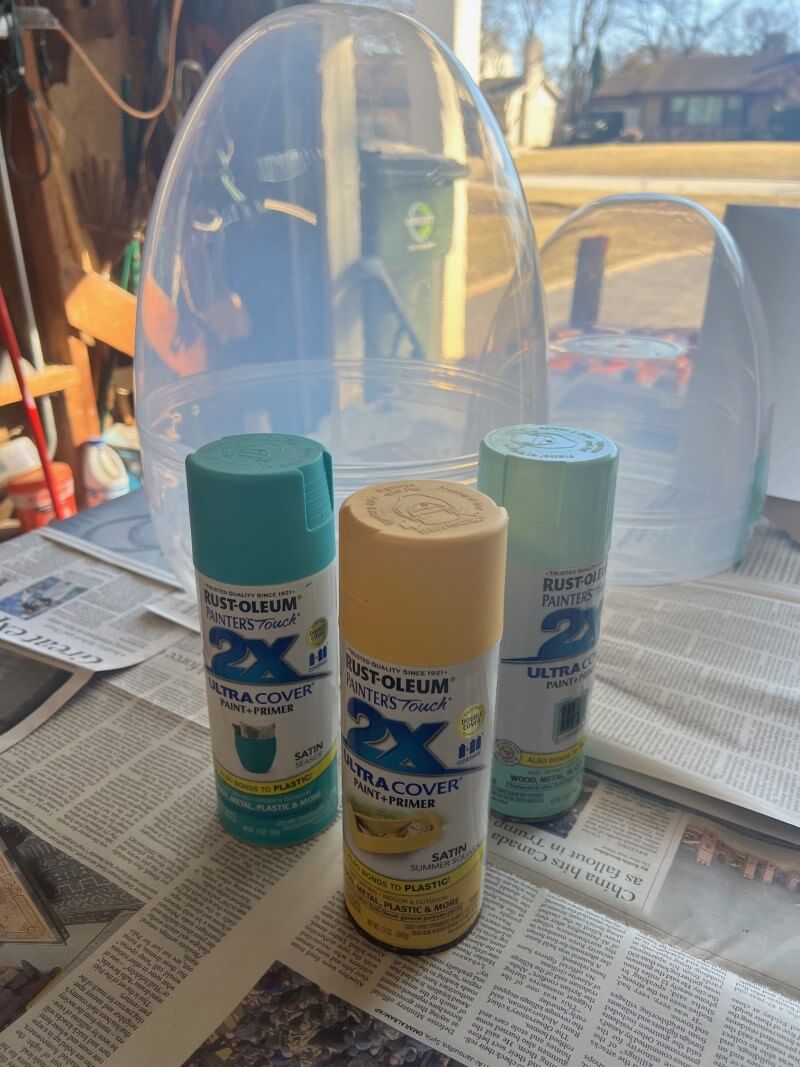
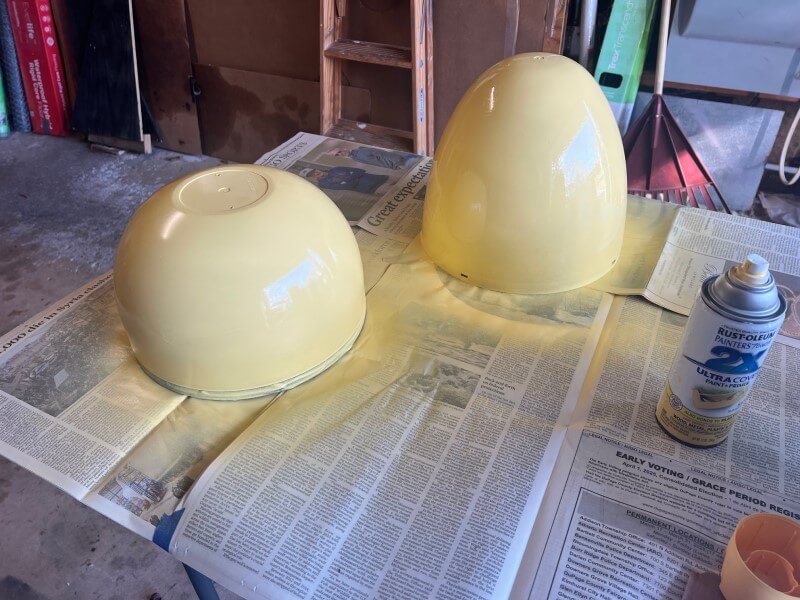
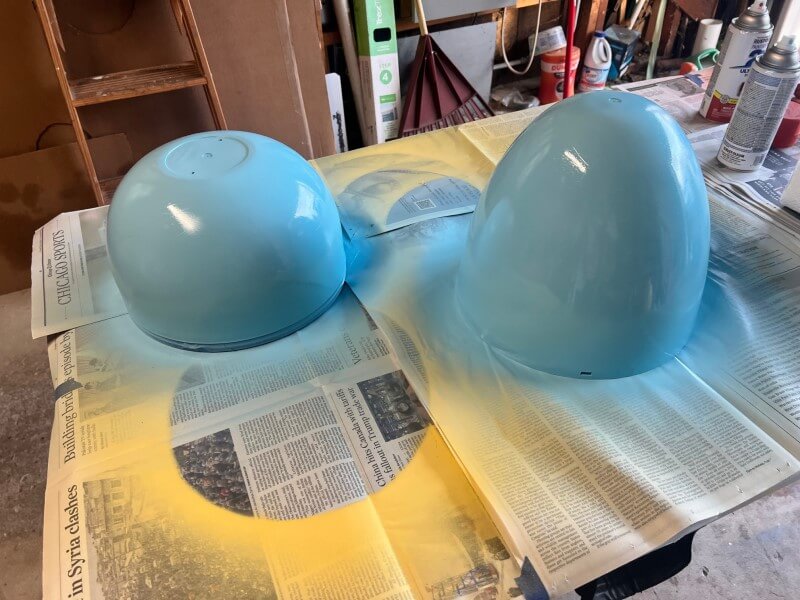
3I used spray paint for the base coat. You are going to want to be sure these are paints that adhere to plastic.
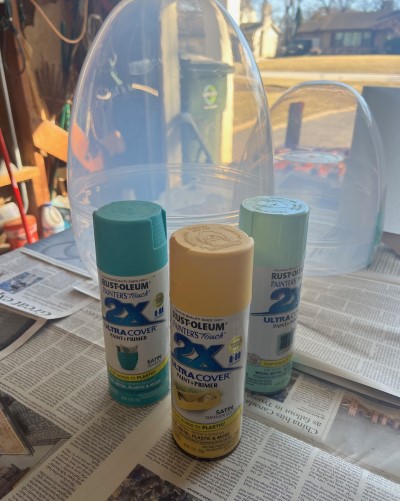
4You can find these spray paints on Amazon, or at your hardware store. I picked pastel colors, and you will want them to be a matte or satin finish. This way the eggs will not be shiny and look less plastic.
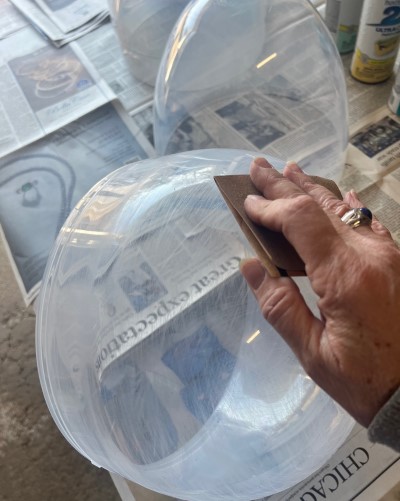
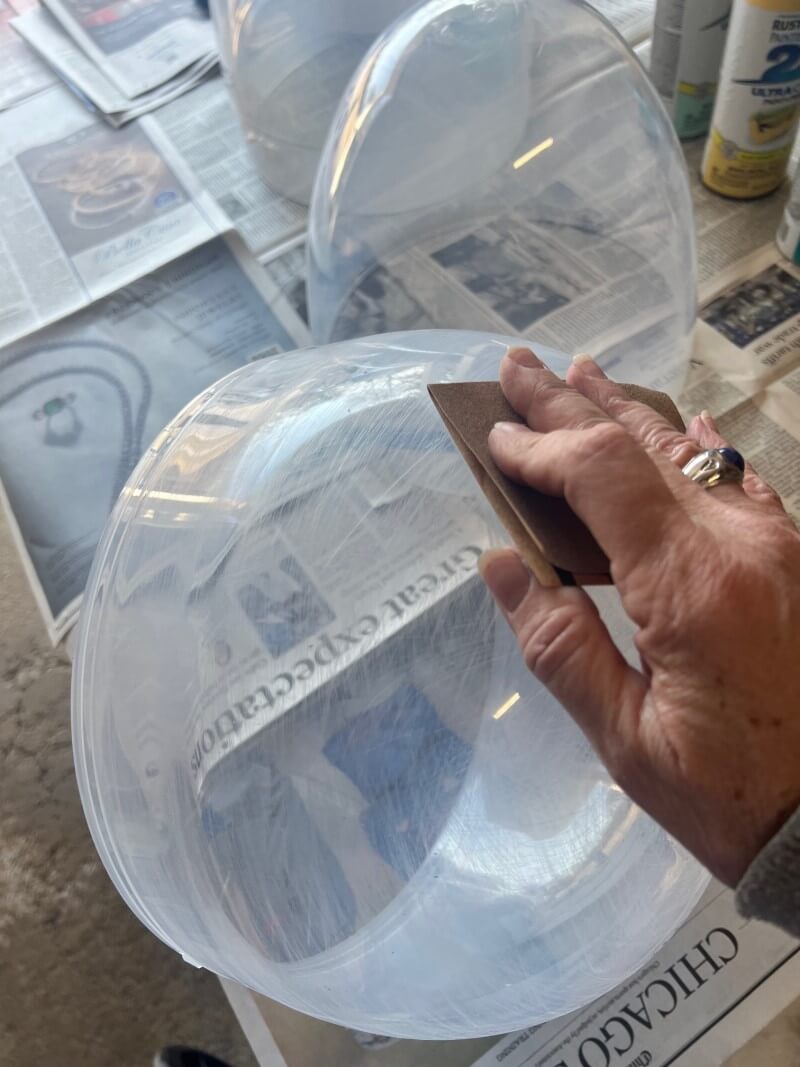
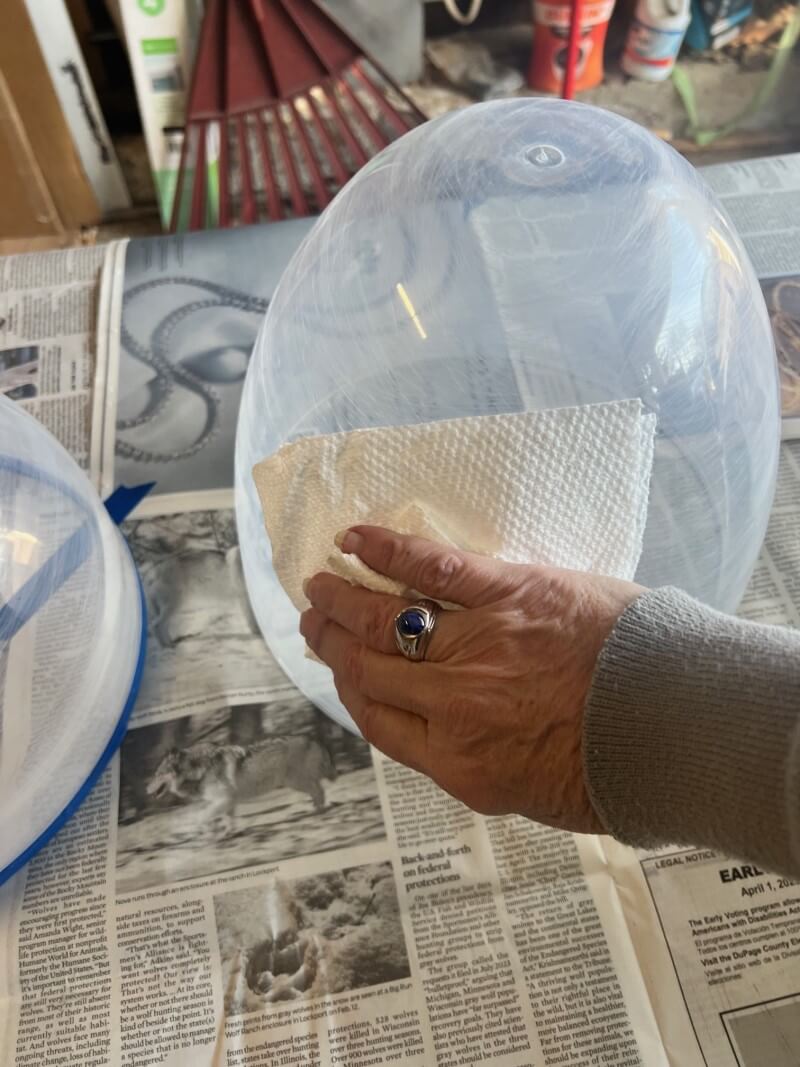
6You can see how the sanding has taken away some of the shiny hard surface.
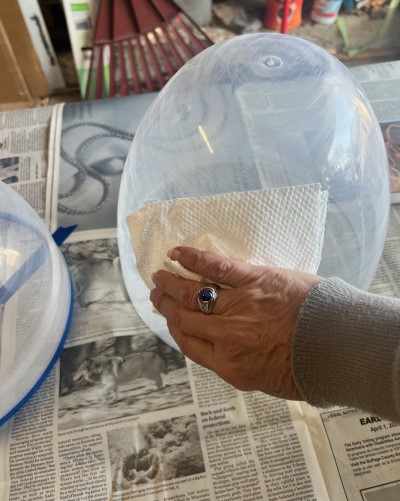
7Before painting you’ll want to take a damp cloth and wipe off any residue from sanding.
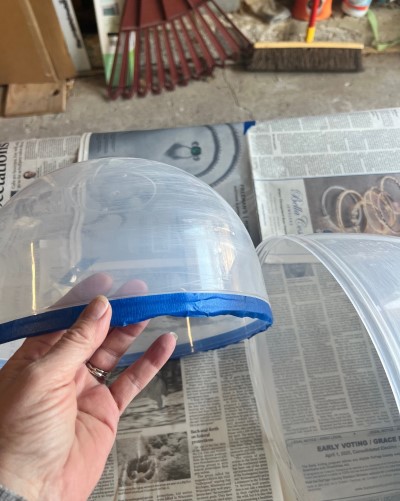
8As my eggs are actually two pieces and I'll be snapping them together after painting, I taped the inserting rim with painters tape to keep that clean. I plan on taking them apart for easier storage for the next year.

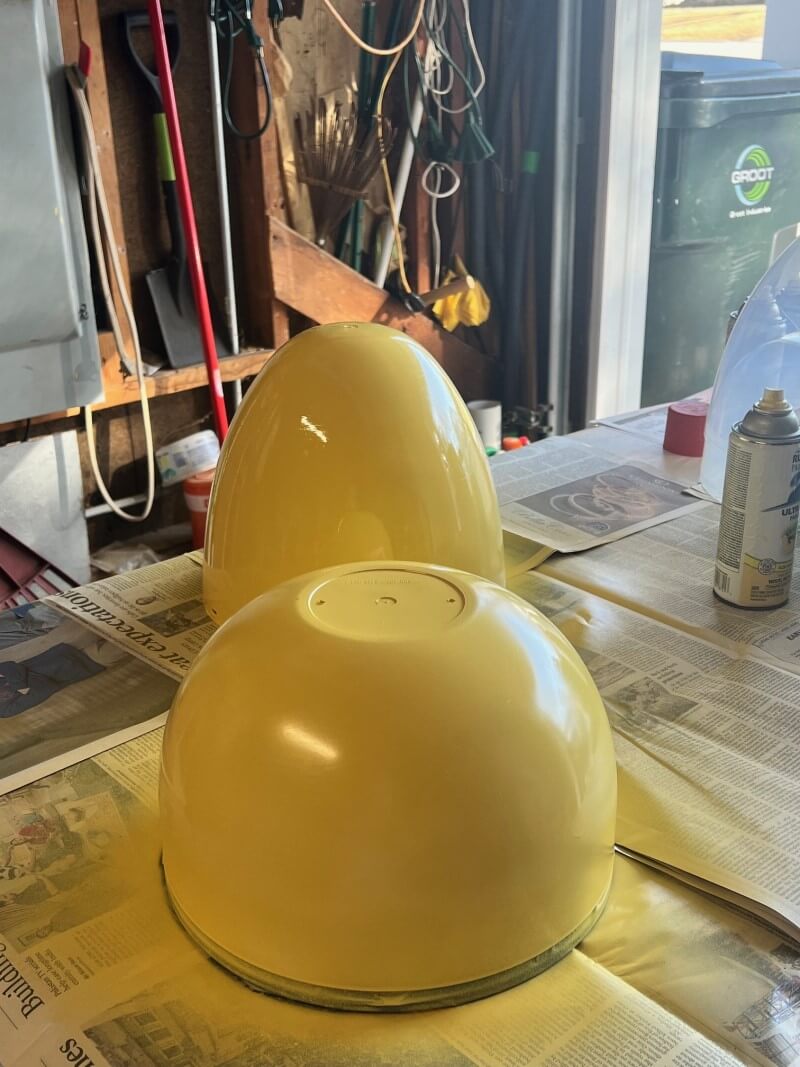
9Spray the eggs evenly and lightly so you don’t get any drips.
10You will be doing two coats for good coverage. Be sure to wait for drying between coats.
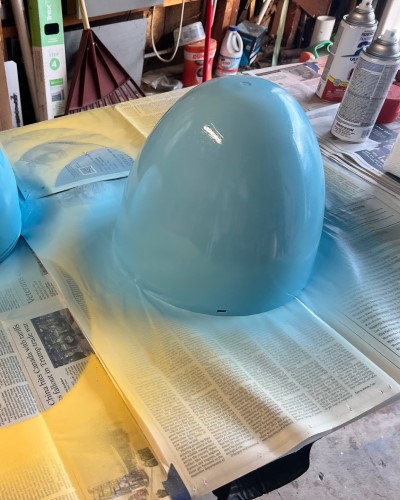
11I chose a robins egg blue for my second egg.

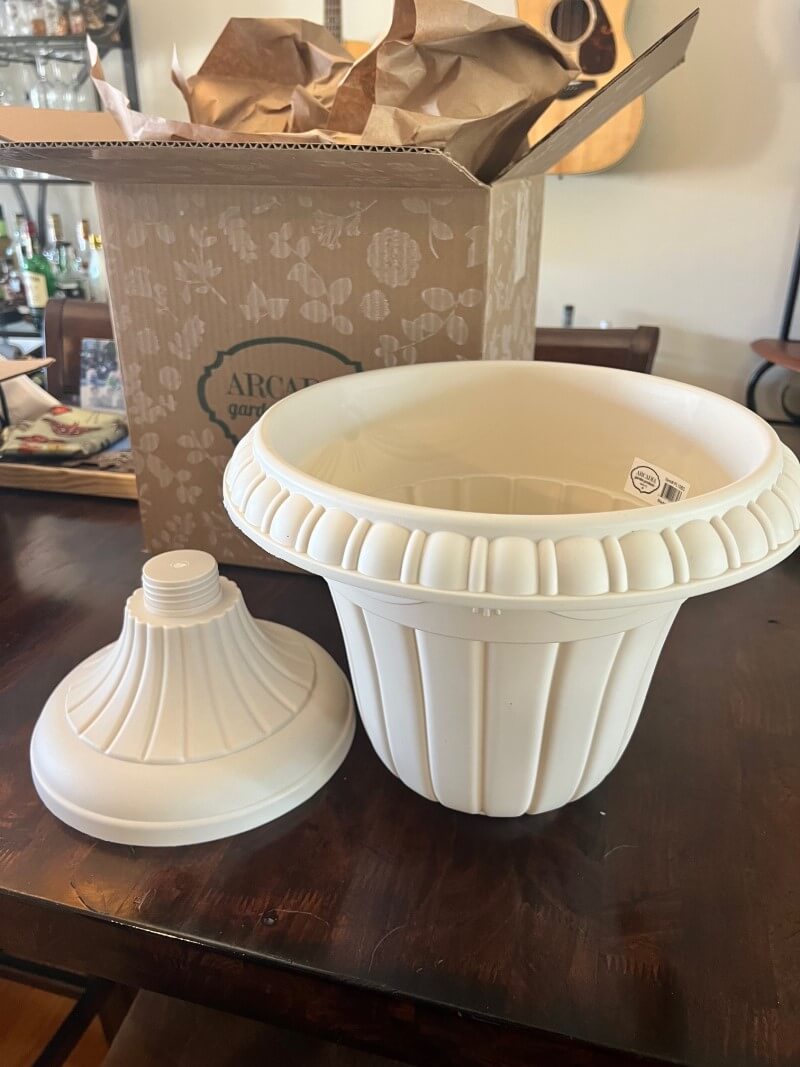
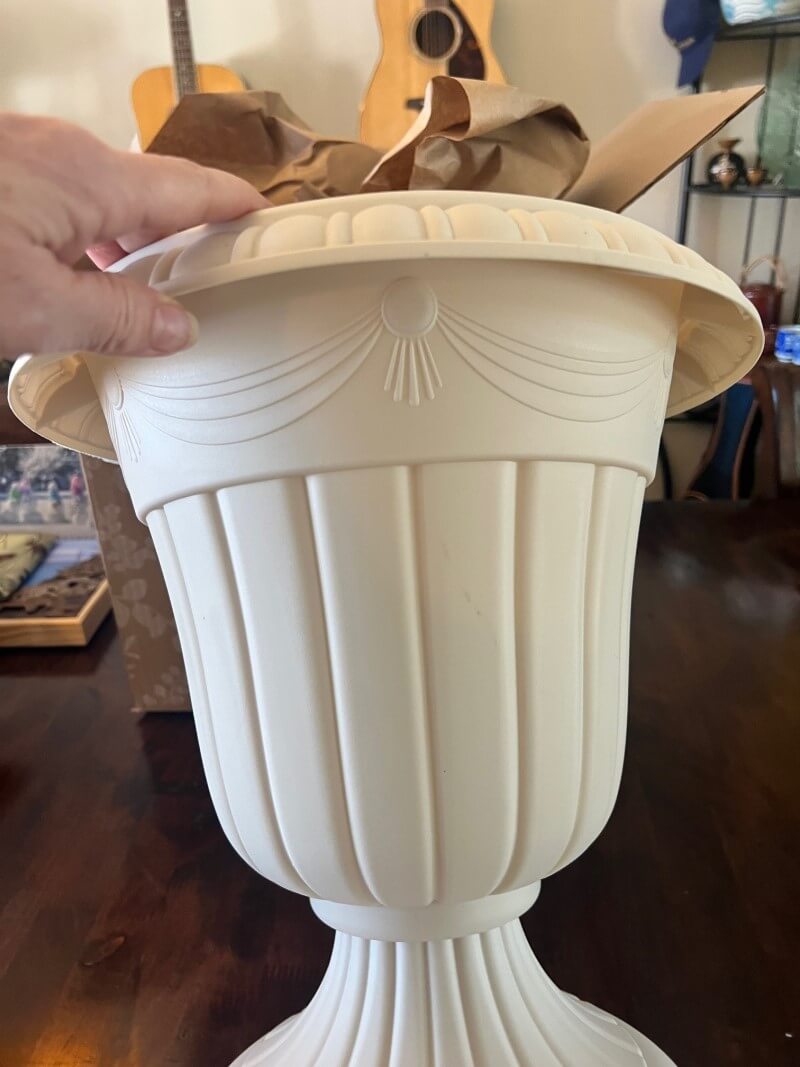
12Since I wanted a bigger visual presence and something to hold the eggs, I decided to put them in planters. These plastic topiary planters I found on Amazon were perfect and cost me only $12.00 each.

13The bottom screws on, so again this will help with taking apart for storage. They also have some lovely detail on them. They are about 14 to 15” tall.
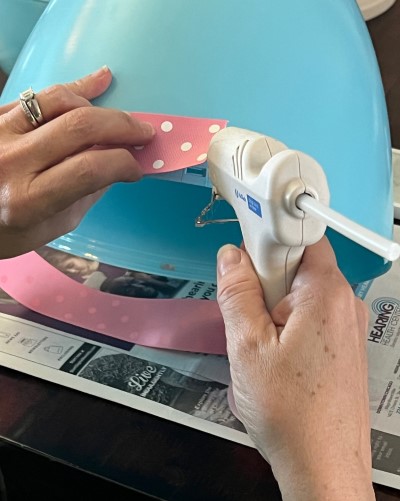
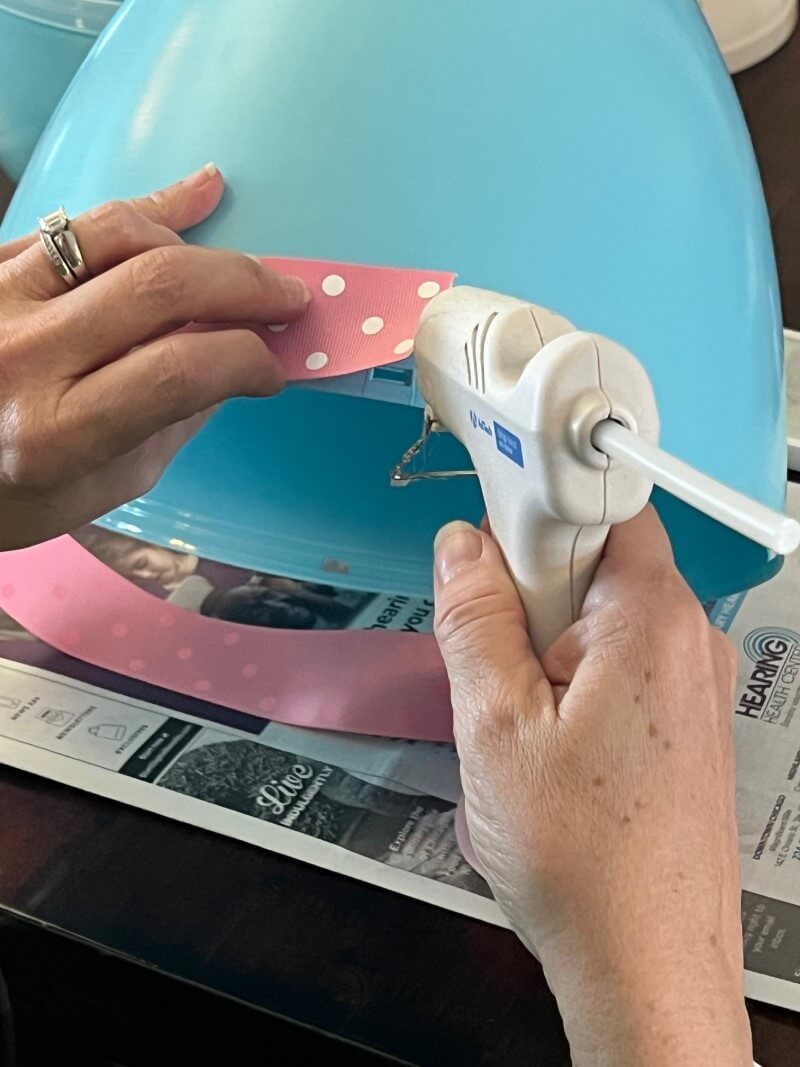
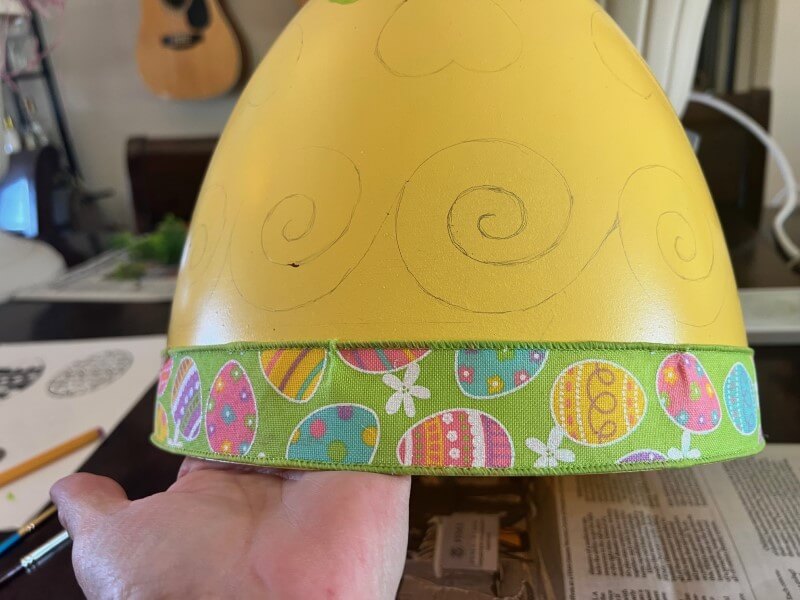
14Back to the eggs. I wanted to hide the rim were the egg halves join, so I hot glued decorative ribbon on the top half to hide the seam when they join. There is a nice selection of Easter ribbons on Amazon. Mine were 2” in width.
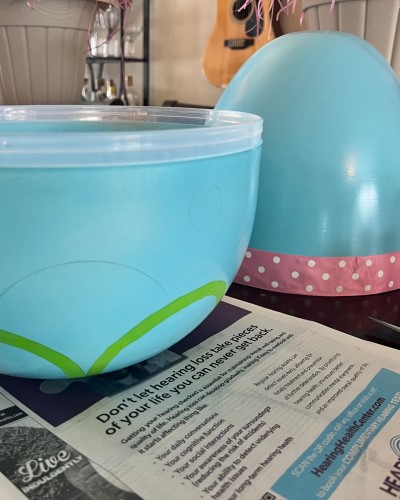
15This is how the two unassembled halves would look.
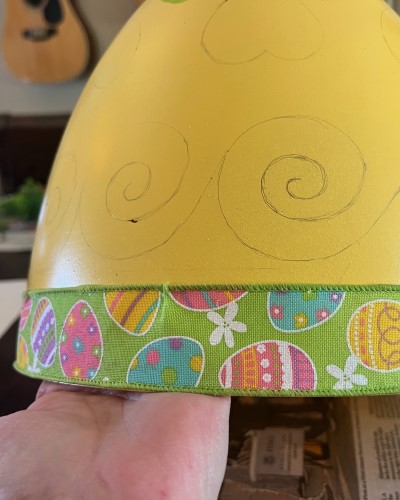
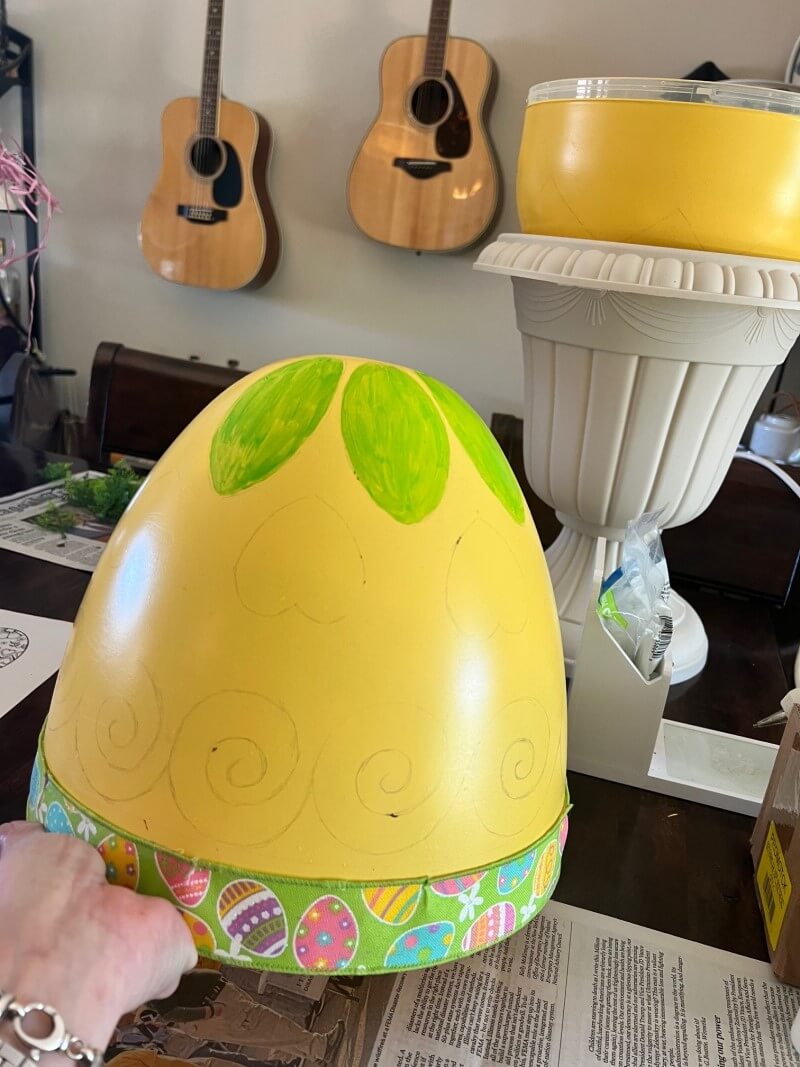
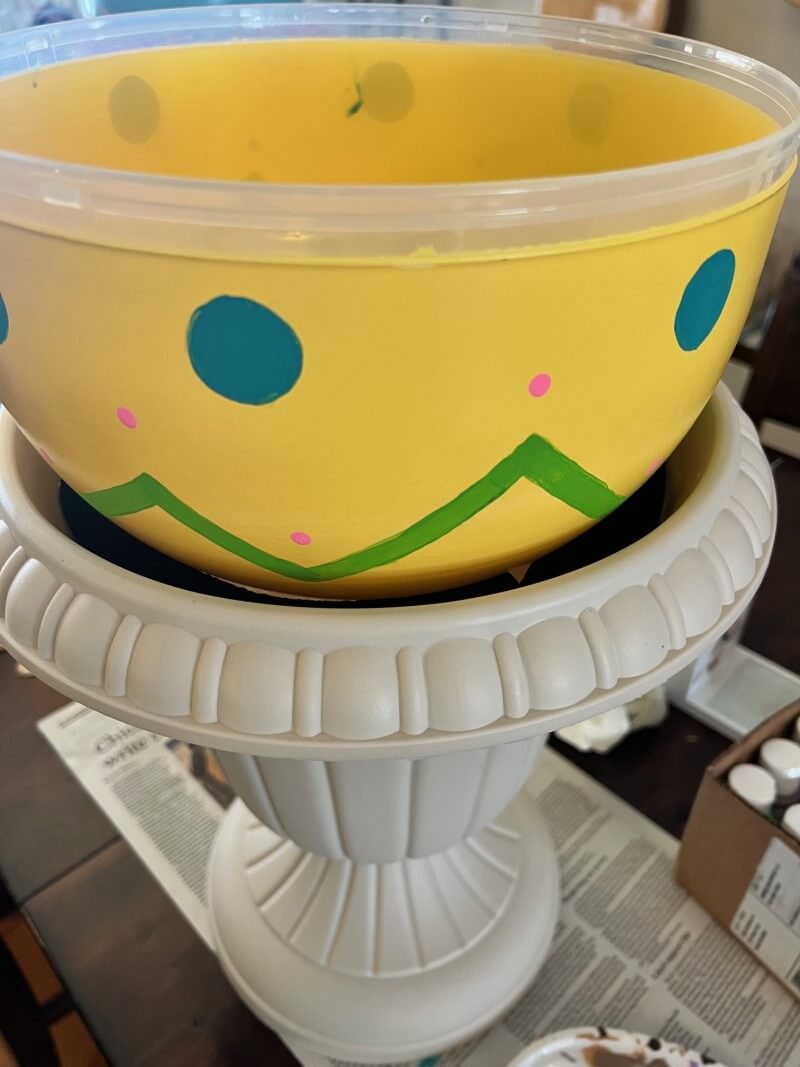
16Yellow egg with another version of ribbon. Then I carefully started drawing my designs on the egg with a pencil. Be careul not to press too hard or you might chip the paint... lesson learned.
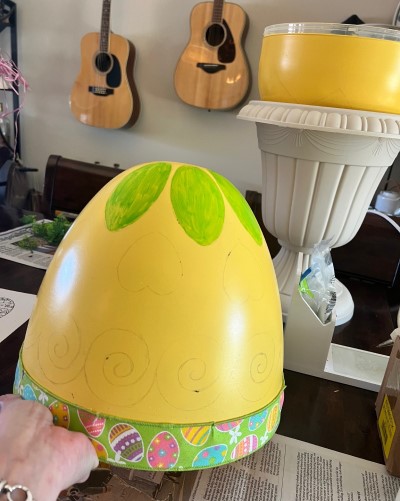
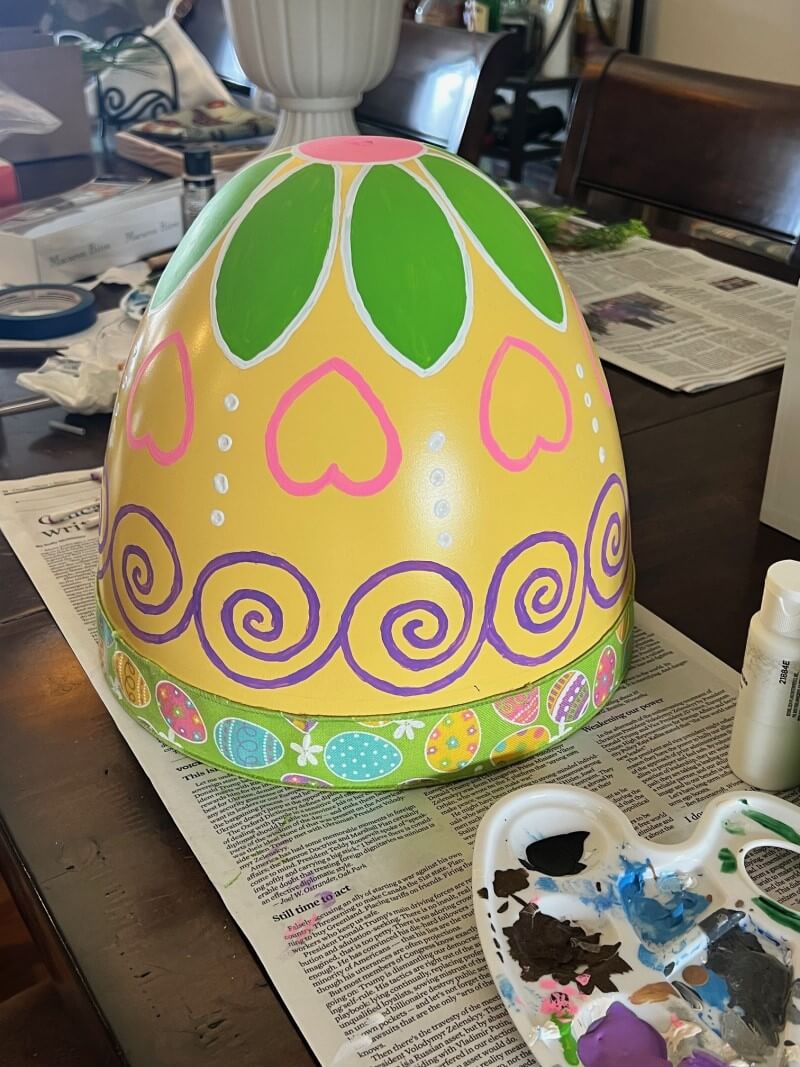
17I used pastel acrylic paints for the designs. You will need two coats for good coverage. Be sure to wait until the first is completly dry before adding the second coat.

18I decided for my designs to go with a more traditional Easter Egg look with random patterns. When I completed my painting, and it was dried, I sprayed the entire eggs with a clear satin sealer. This should protect the eggs from any moisture outside.
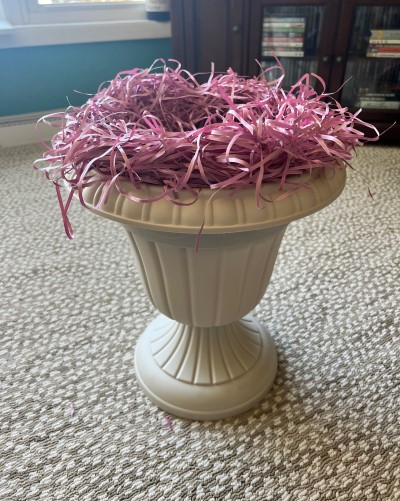
19Tested the eggs in the planter and I felt they sat too low and the bottom portion of the design wasn’t seen. So, I decided to put something inside the planter as a seat for the eggs to lift them up a little.
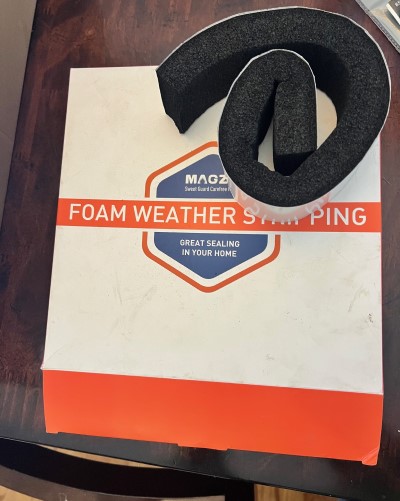
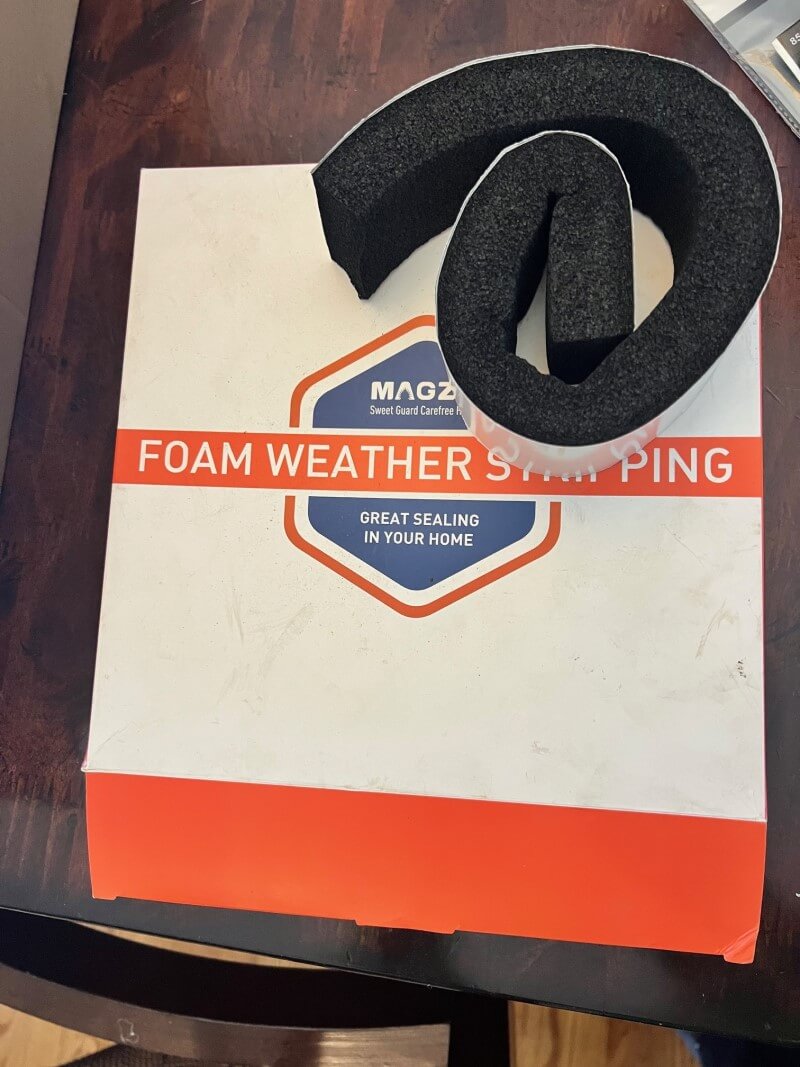
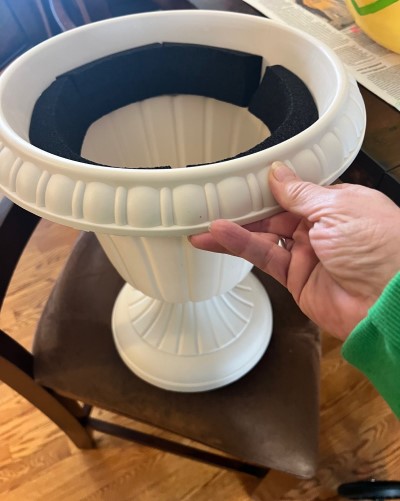
20What I used was 2” foam weather stripping with an adhesive back I bought on Amazon. I tried working with an entire strip around the inside first, but it didn’t lay right. So, I cut them into 4” pieces so they would wrap around the inside and adhere well. Easier to work with as well.

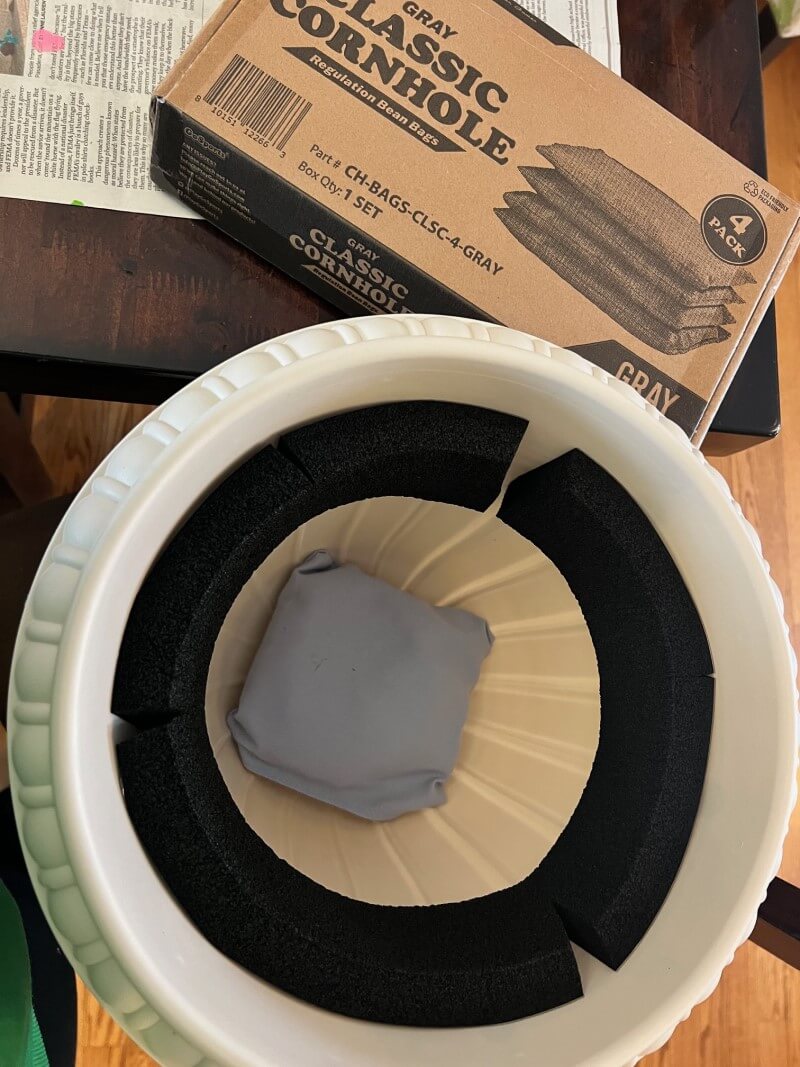
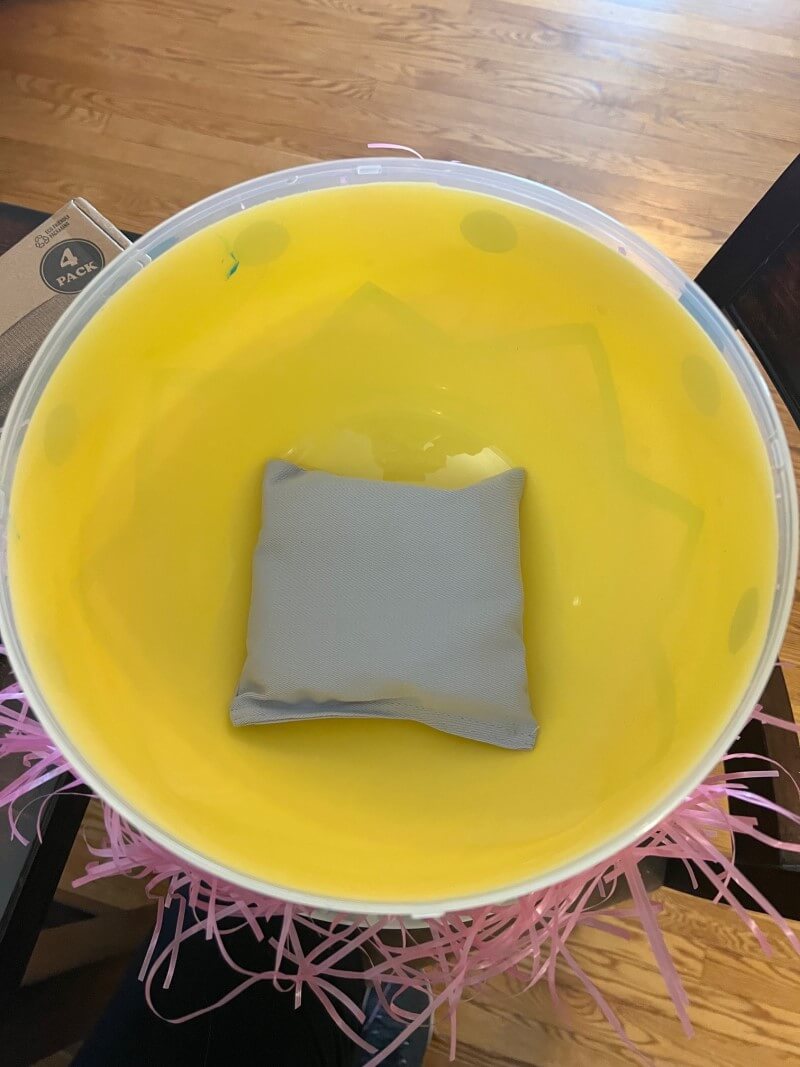
21As you can see the egg now rests nicely on that foam inside rim. Also provided me a little spacing for the nest of Easter grass I wanted to add underneath.
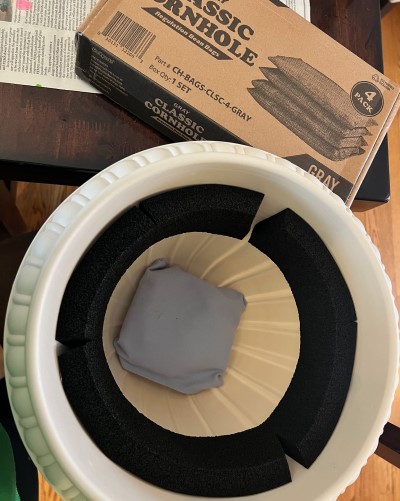
22Since the eggs and the planters are plastic, they're pretty light weight and I didn’t want them blowing over outside. So I purchased some inexpensive cornhole beanbags on Amazon and placed two in the bottom of each planter.

23Also one in the bottom half of the egg. This seems to keep them fairly stable, at least for covered porch weather.
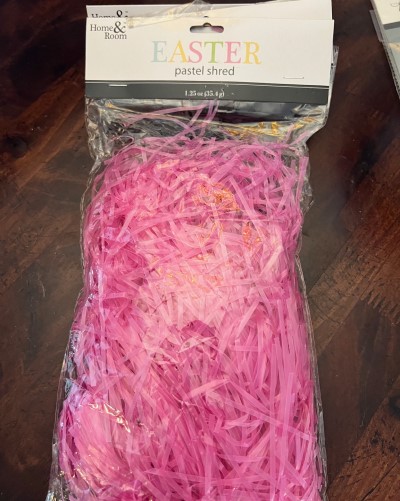
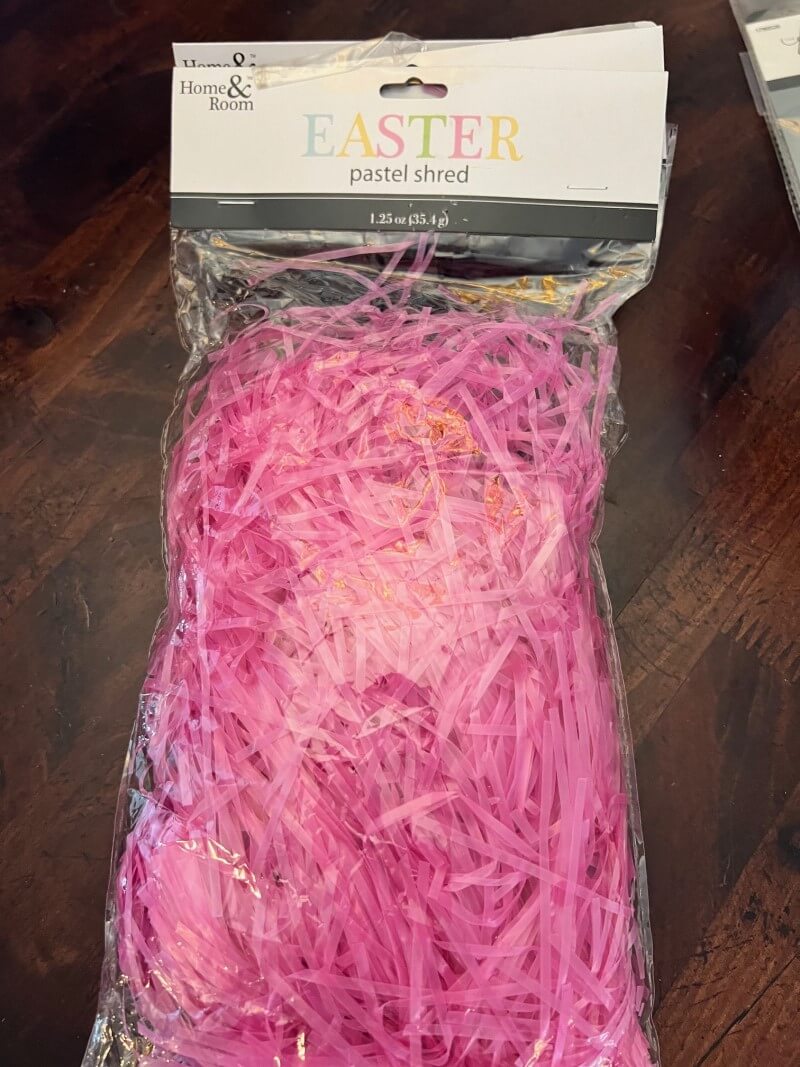
24Next was the problem of how to make that nest of Easter grass. For weather purposes you want the grass to be plastic, not paper.

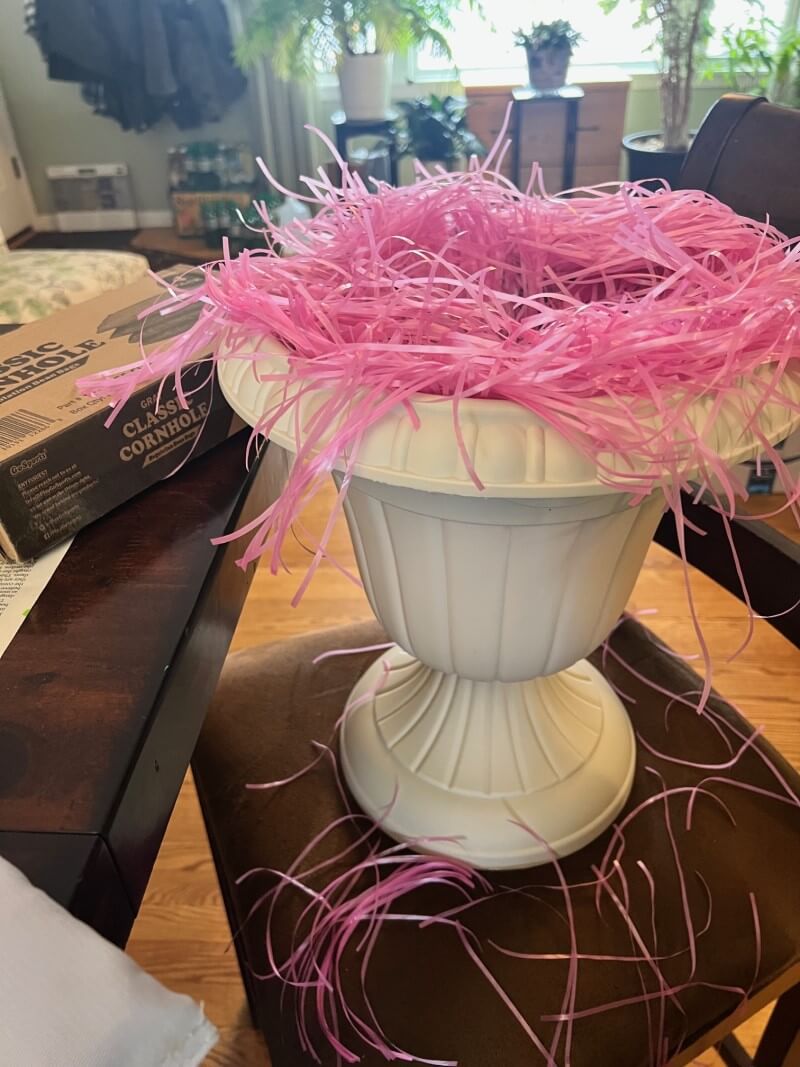
25I ended up having to buy 3 different kinds before I could get this to work. The first two packages were shredded grass and as you can see when I tried to make a nest for the egg it was a mess.
26It just kind of limply hung there over the edges. Not what I was looking for.
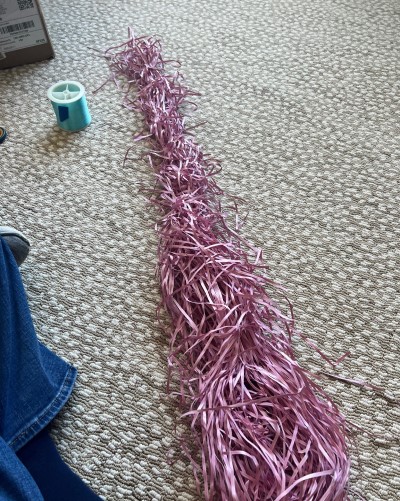
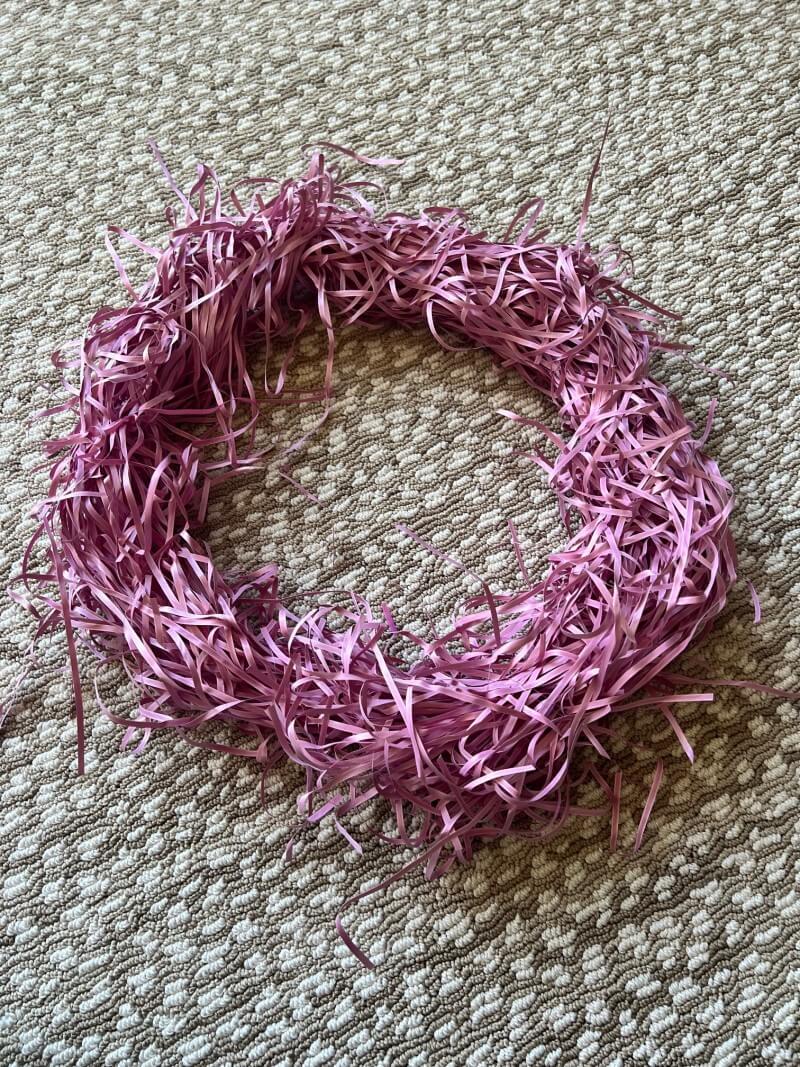
27I finally found some grass that was long continuous pieces. I laid them out in a long line about the size of the planter’s rim. I then took fishing line (or whatever you have) to tie one end and then just kept wrapping it around the grass to the other end.
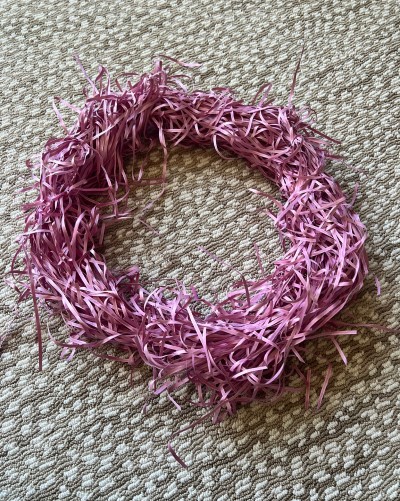
28This seems to hold it together nicely and allowed me to make the shape of a nest.
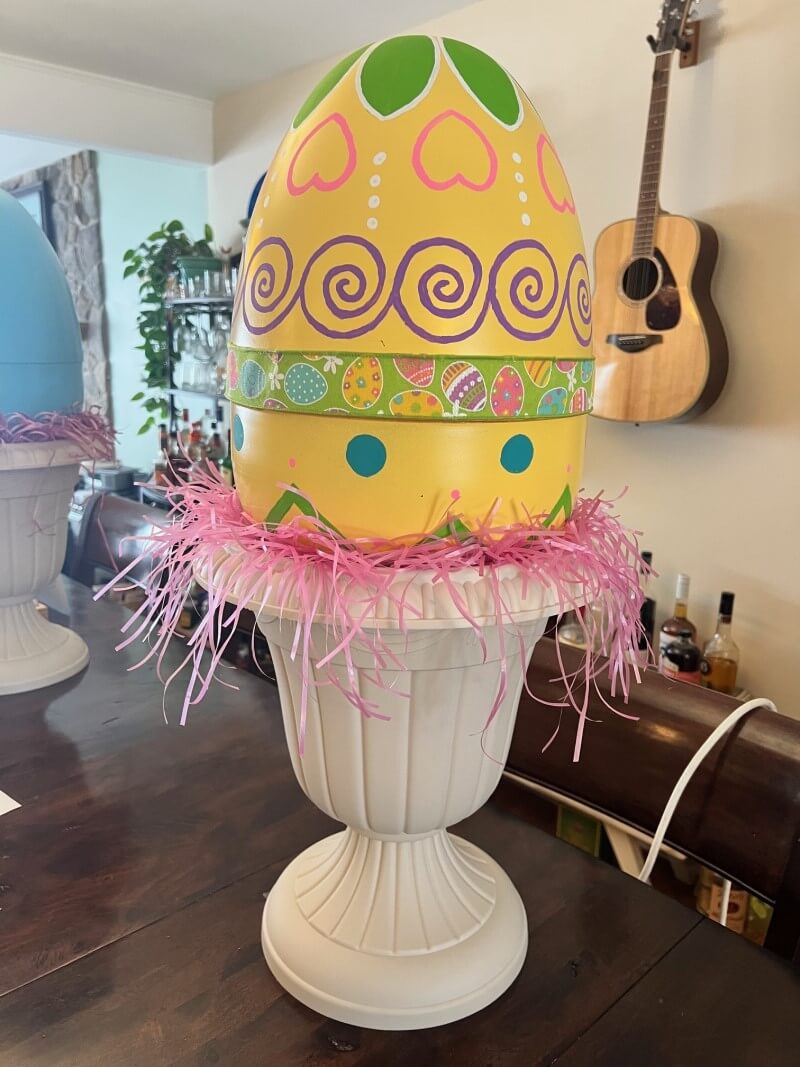
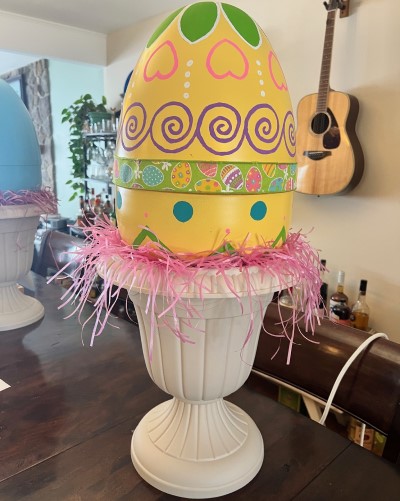
29This worked perfect and created a colorful nest for the egg to rest on. I didn’t think there was a need to glue it on as the weight of the egg holds it in place.
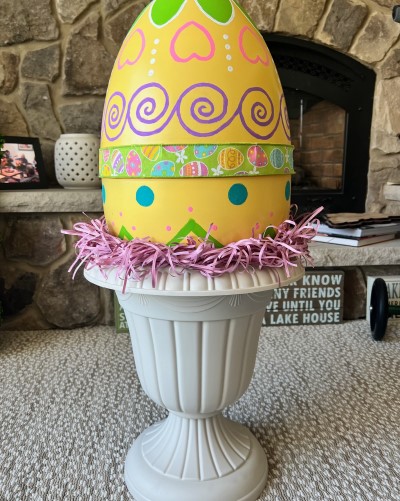
30And here you have a finished egg nicely resting on its nest of grass. It really adds some additional color and a nice transition to the planter.
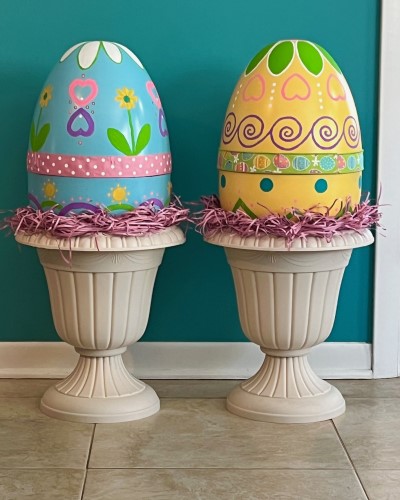
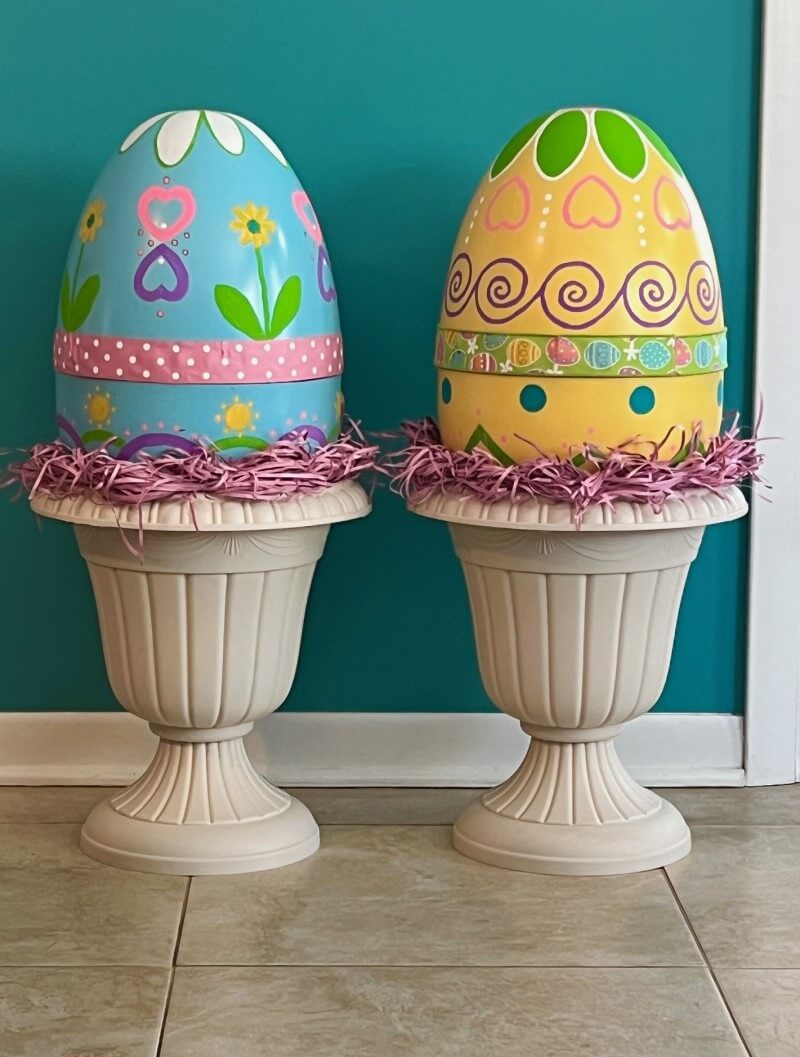
31Finally, two finished nested Easter Eggs!
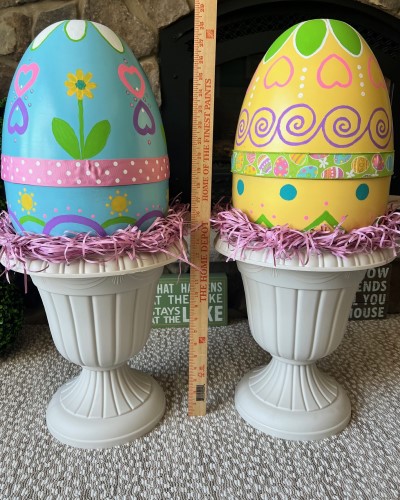
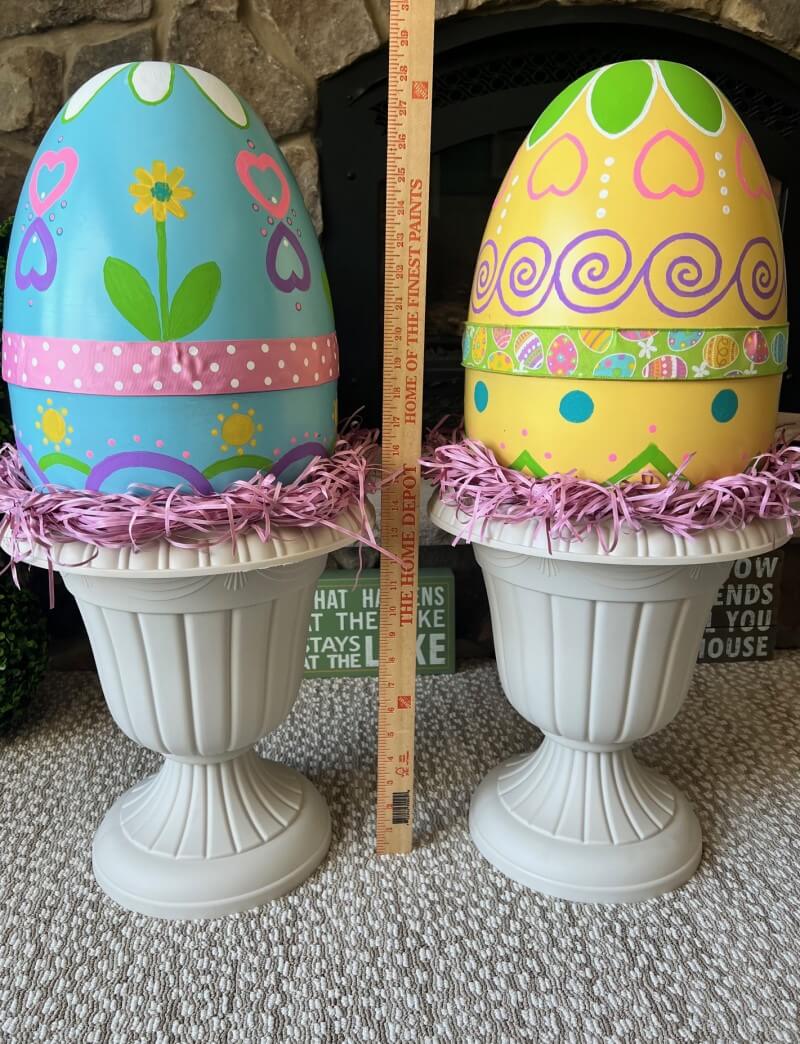
32They are about 29" to 30” tall all put together.
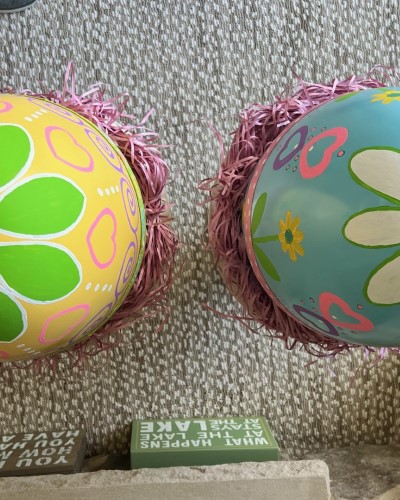
33This is a picture of how the design looks from the top of the eggs. Click or tap image for the full view.

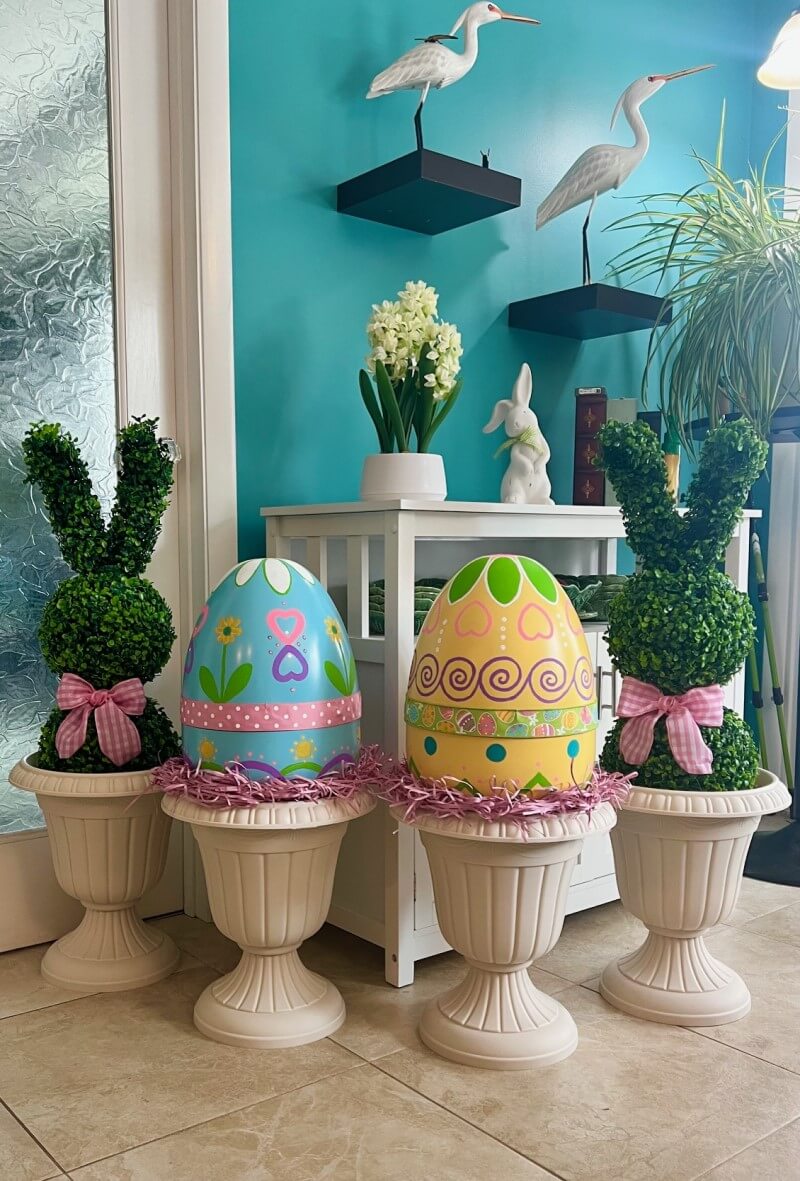
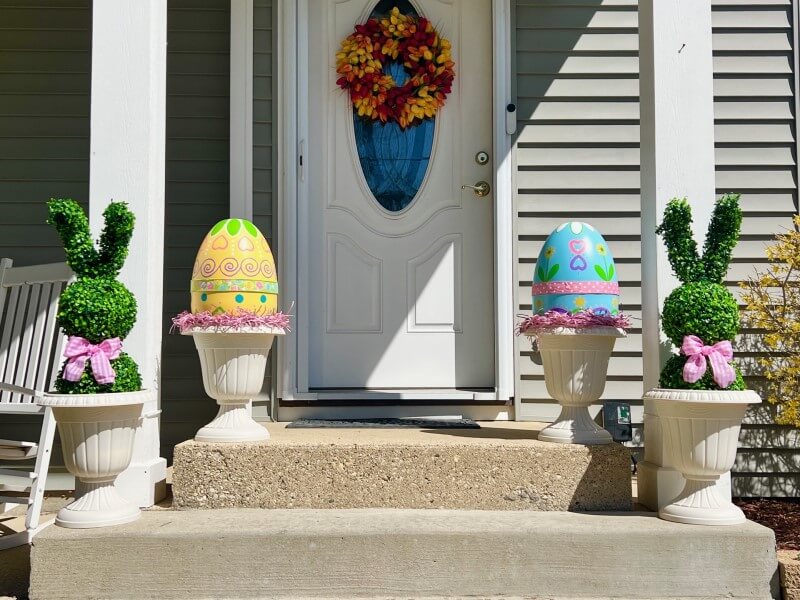
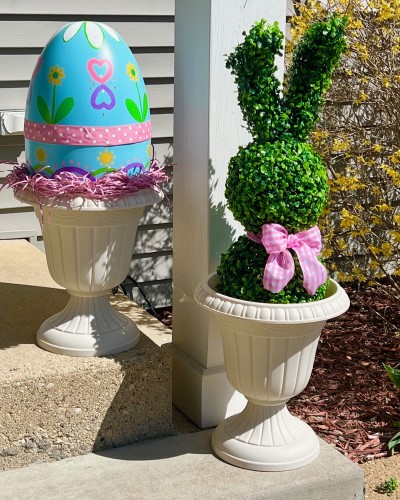
34I’m really pleased with the final results and at a fraction of the cost! Bright, colorful and large enough to be seen on the porch. A great symbol of Spring and Easter to share with others. The two topiary bunnies complete the scene.
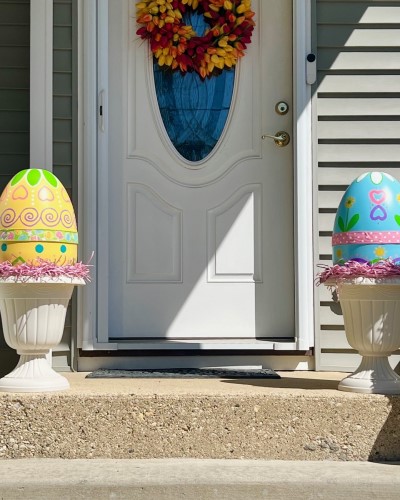
35Finally, we've made it out to the front porch!
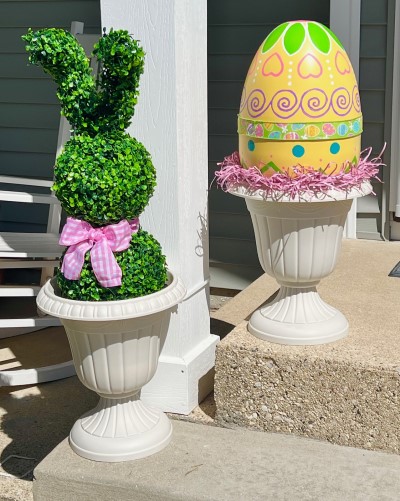
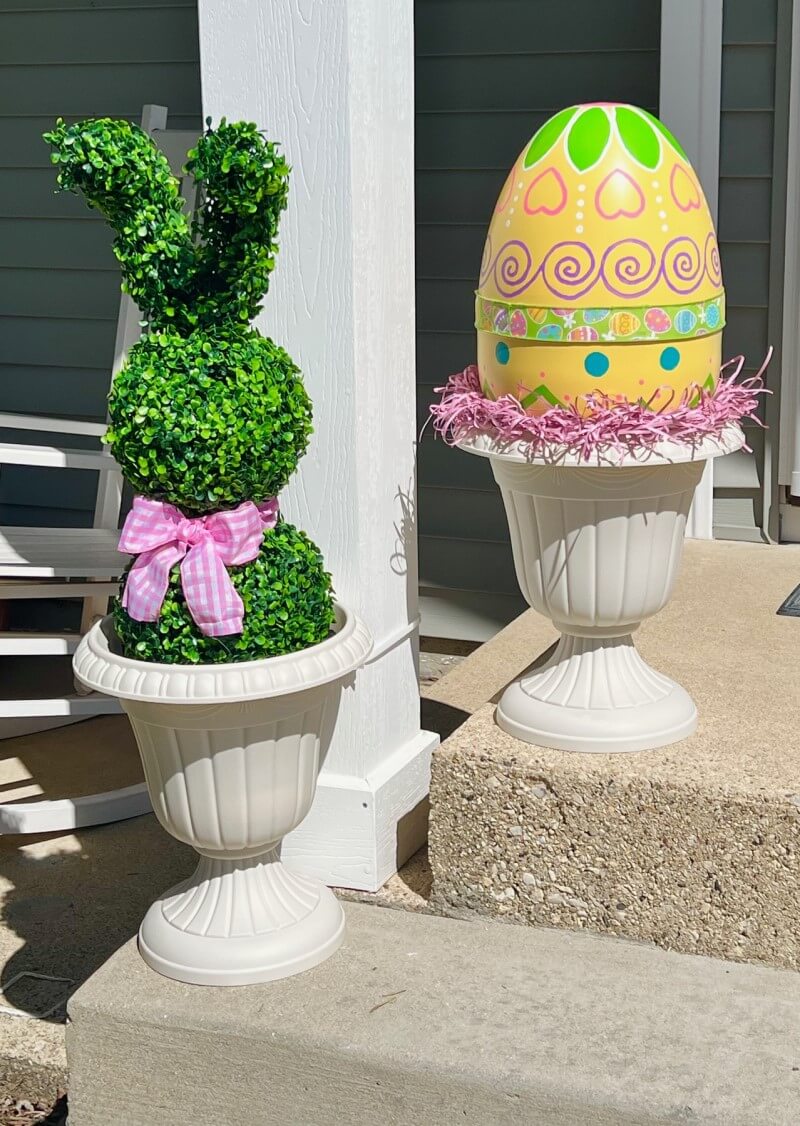
36Side view on porch stairs.
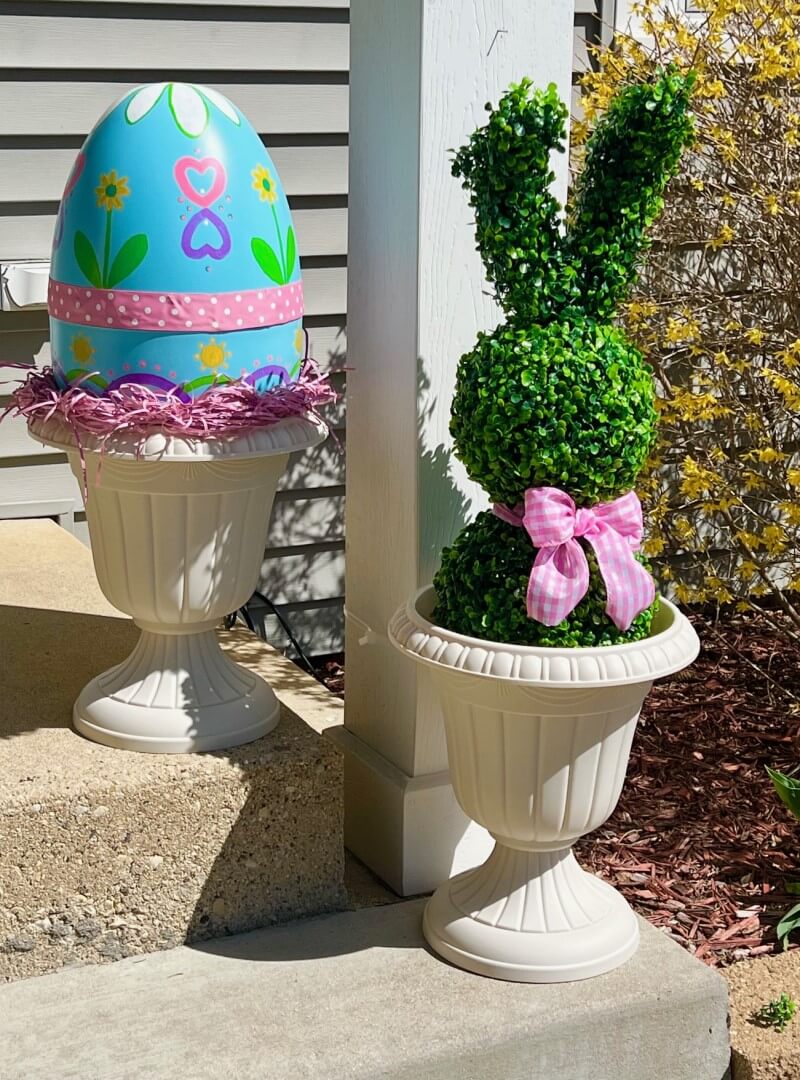
37Another side view on right porch stairs.
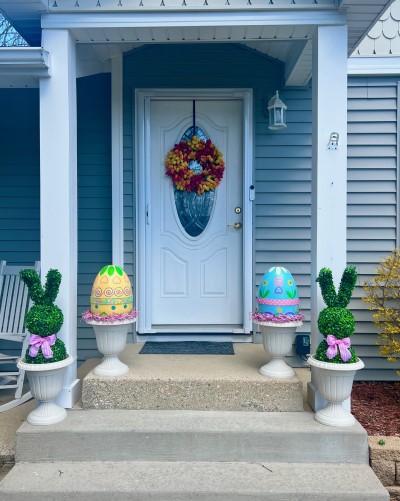
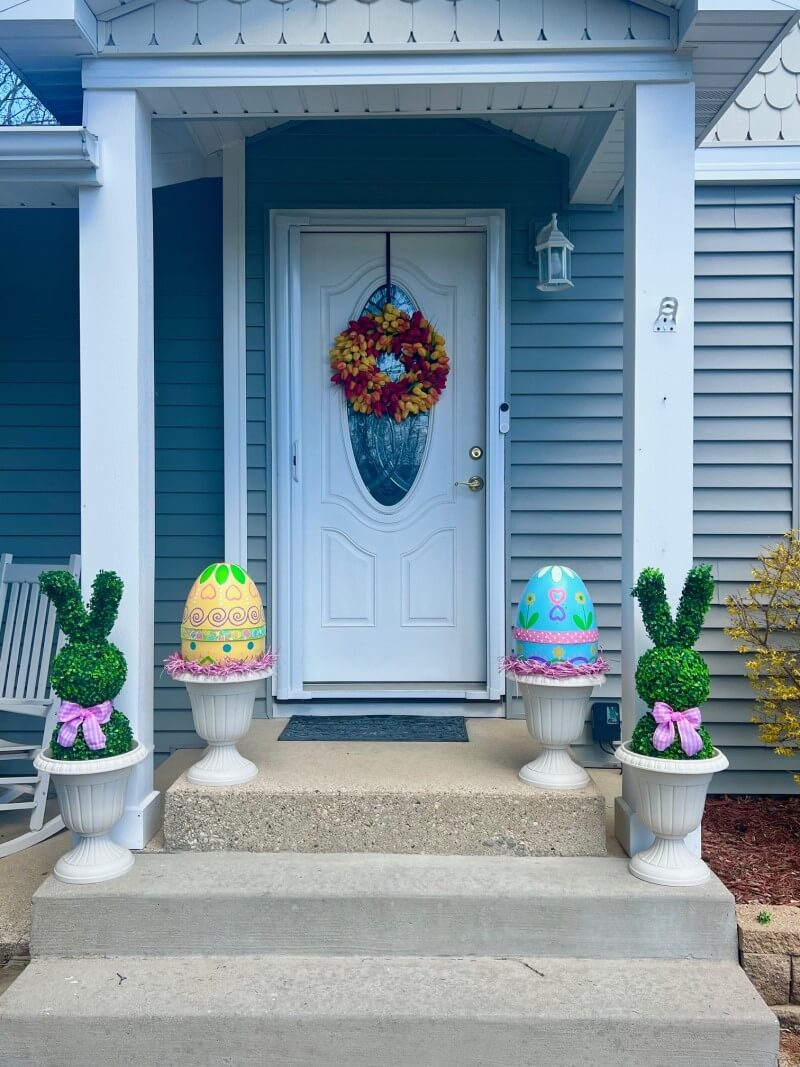
38A fantastic welcome for those approaching the front entrance.