Halloween is just around the corner... time at the office for our annual mask competition.
Holidays are a good time for recharging the creative juices and taking a break from the routine. Having a mask challenge, in anticipation of Halloween, has become somthing of a tradition with my staff.
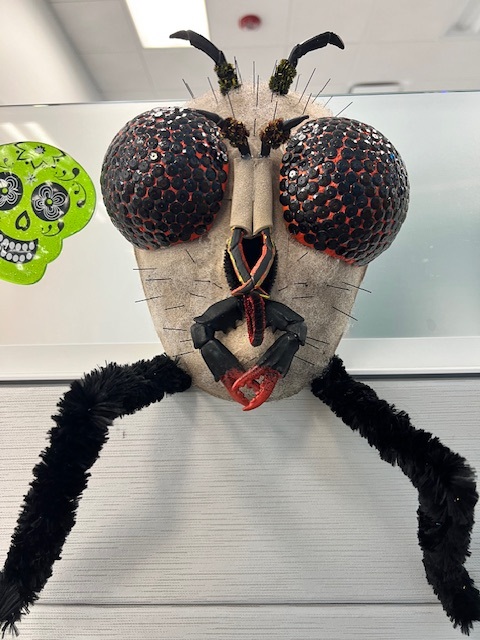
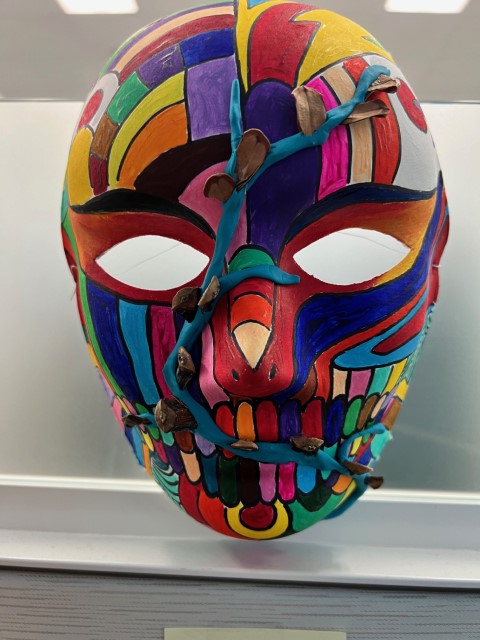
I think this year's collection of masks was pretty impressive and everyone enjoyed the office display. The Fly mask was my own entry, shown below in the gallery with brief step descriptions. Also below are some general tips and hacks for first-timers.
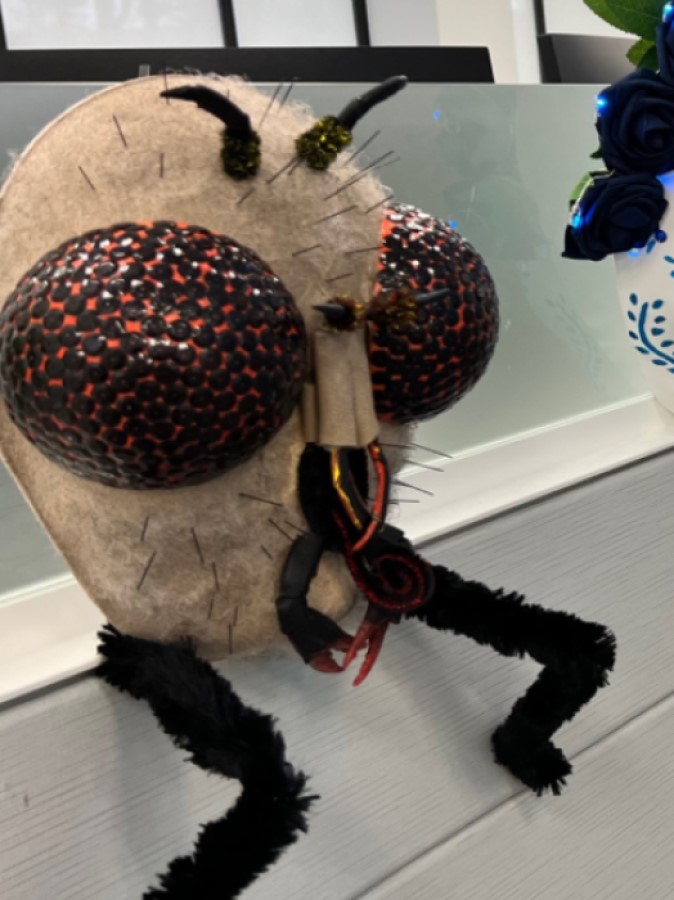
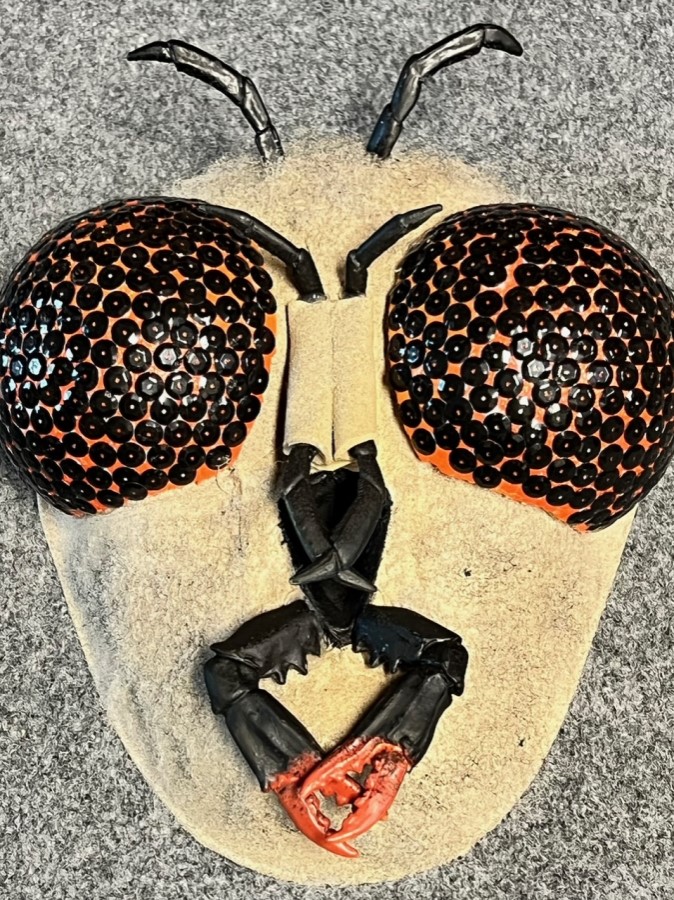
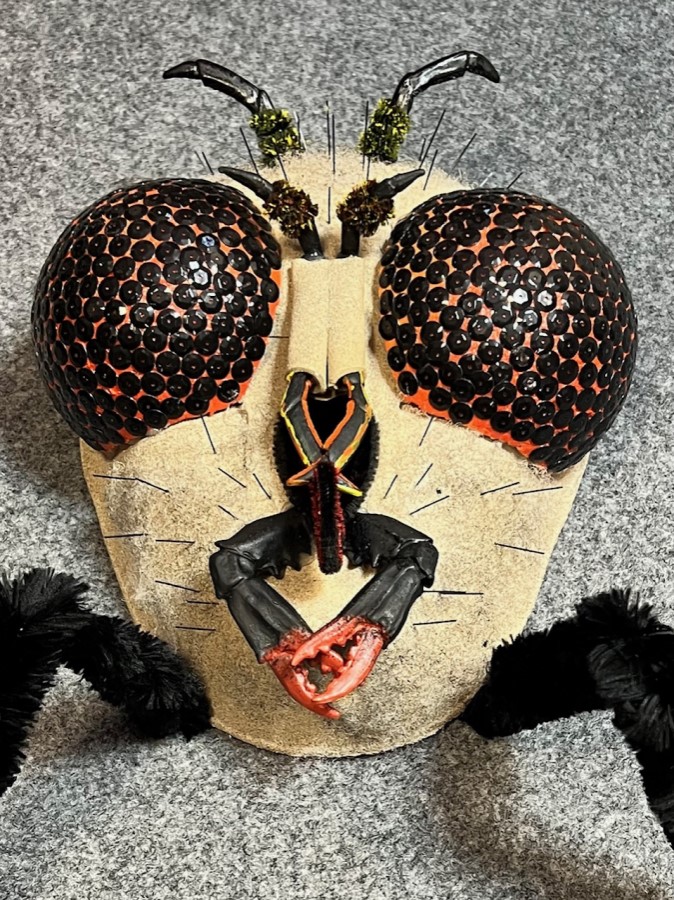
My Fly Mask. The inspiration came from a movie called "The Fly"... a science experiment gone horribly wrong :-)
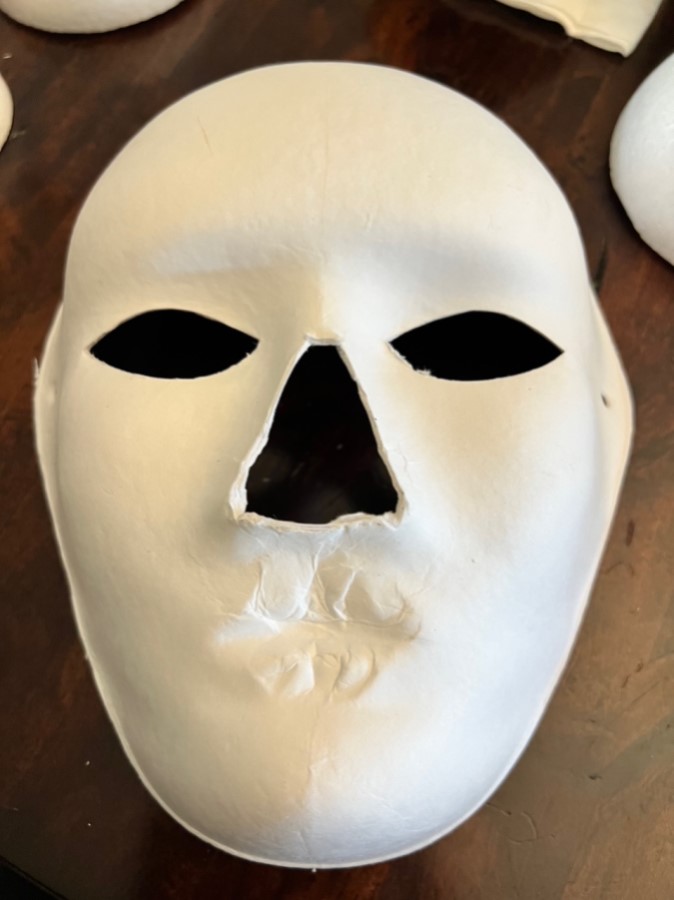
1. Modified the mask since flies don't have noses.
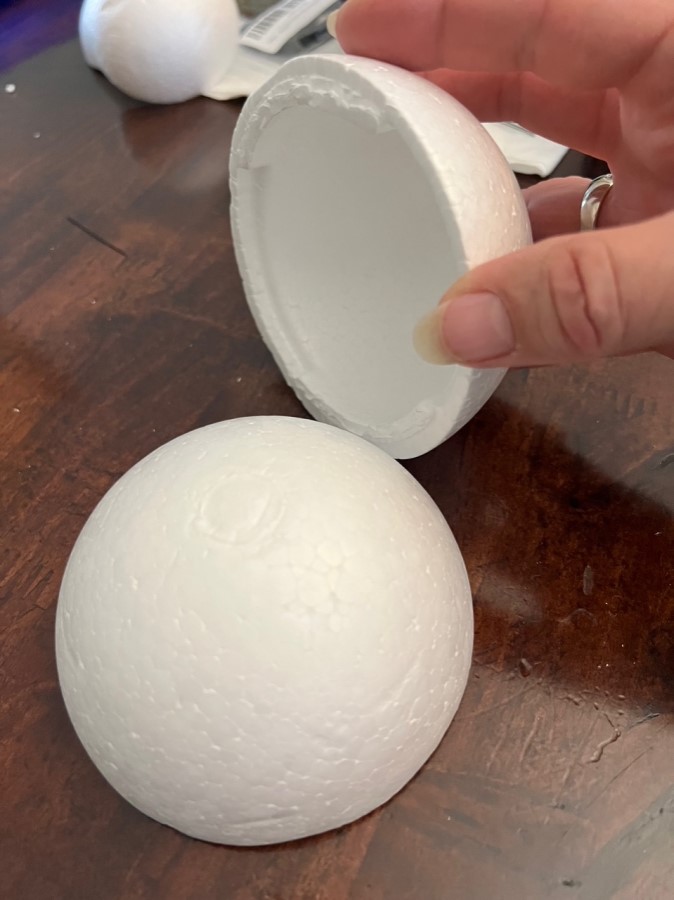
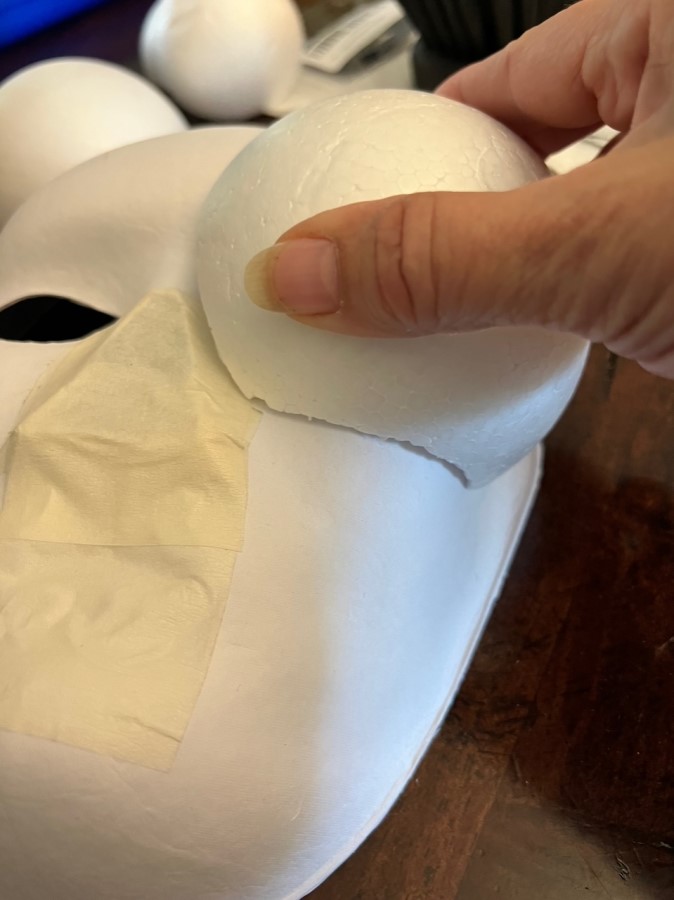
2. Hollow half Styrofoam balls for eyes.
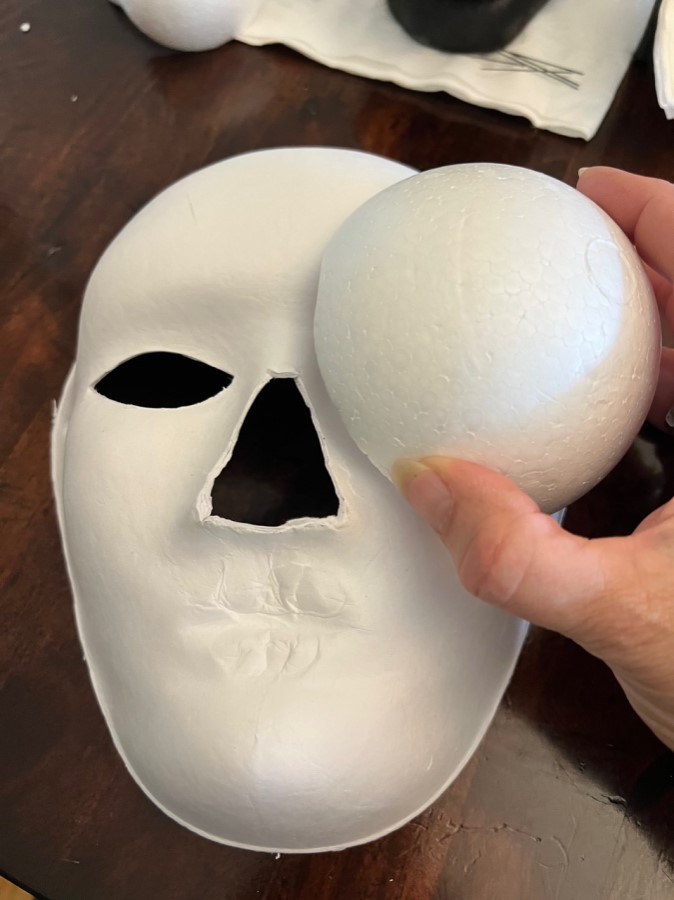
3. Shaping balls to fit on face.
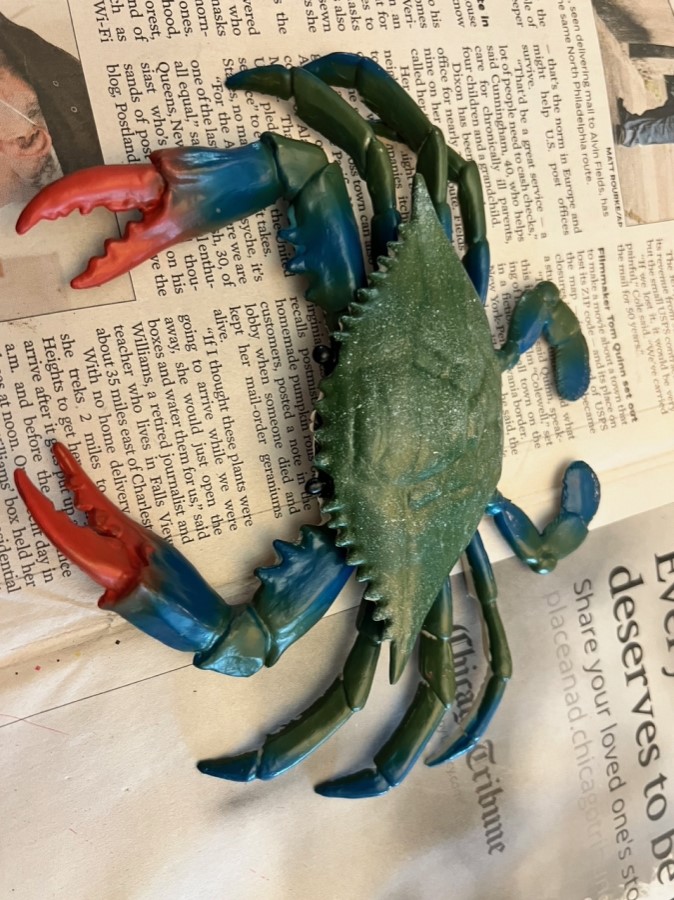
4. Using plastic crab legs for fly mandibles and antennae.
5. Taping off openings and adding eyes.
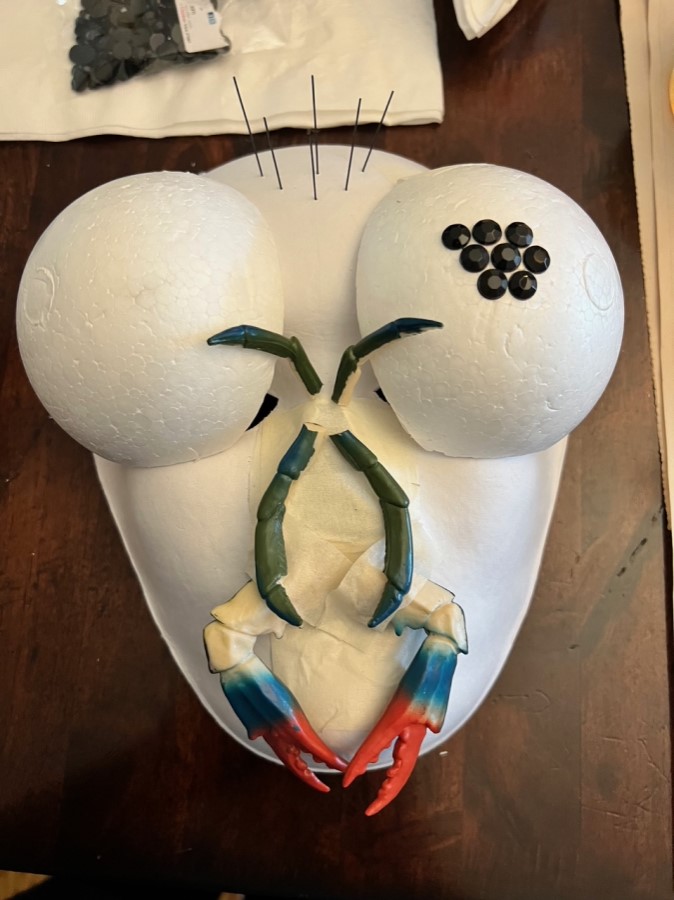
6. Testing things out for placement with pins & tape.

7. Spray painting crab legs black.
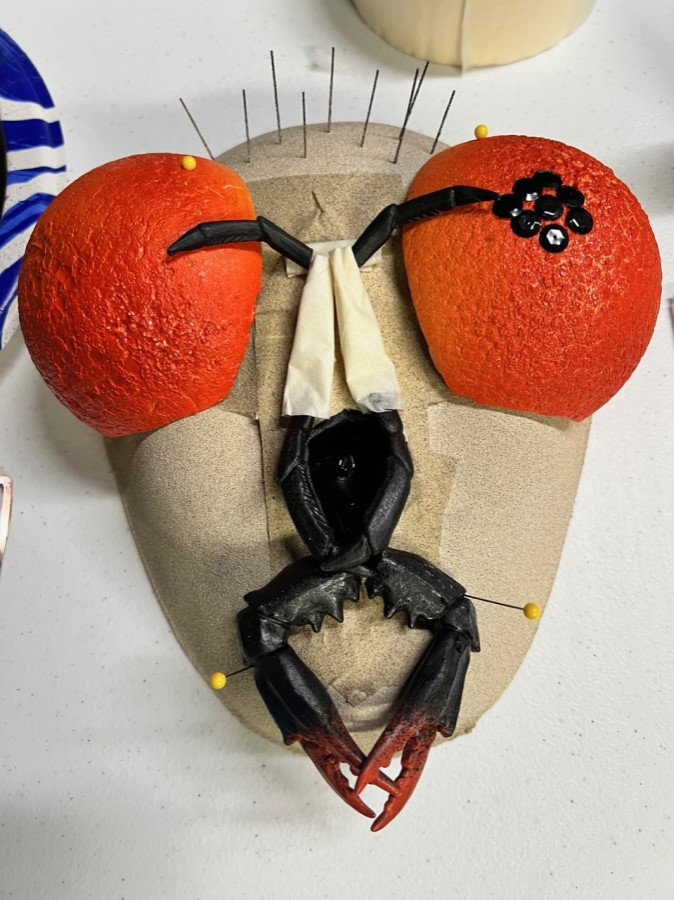
8. Eyes sprayed orange, blackened mouth, testing sequins for the eyes.

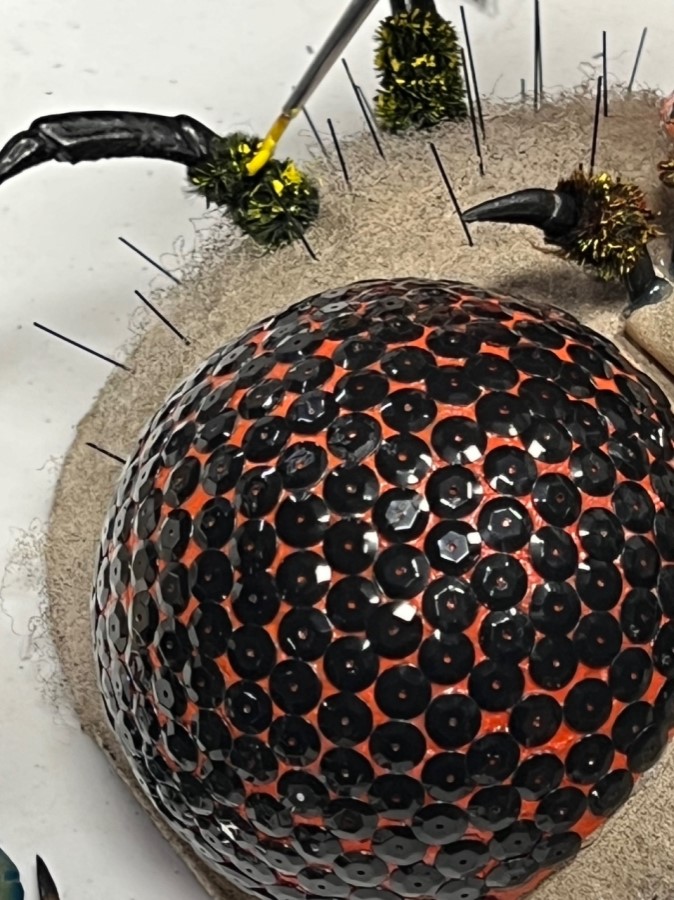
9. Using a wax pencil to pick up sequins and place on eyes.

10. Finished bug eyes.

11. Painted face but it looked too flat to me, so I'm going to attempt adhering some fuzz.

12. After using batting to add fuzz I pulled off the excess to leave just a little on surface.
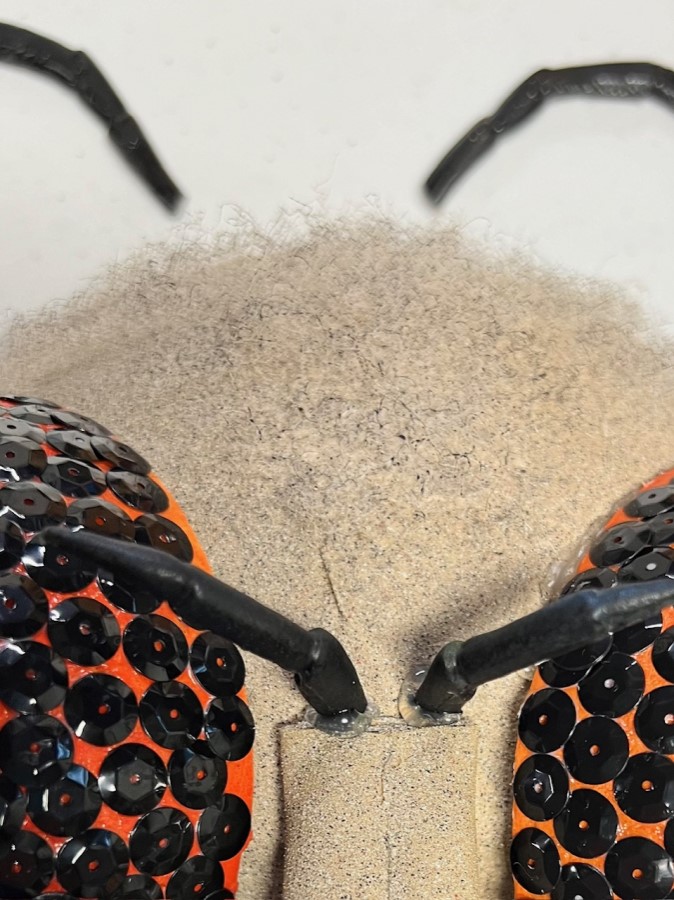
13. The results after dabbing on a little black paint with cotton ball.
14. Now that surface is done starting to mount facial details.
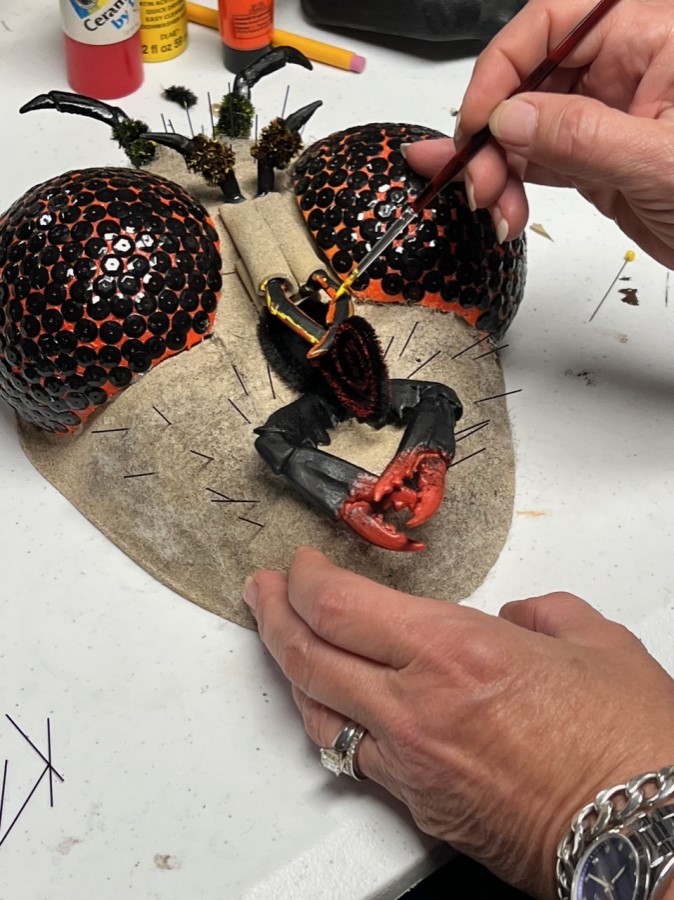
15. Painting some colored highlights.
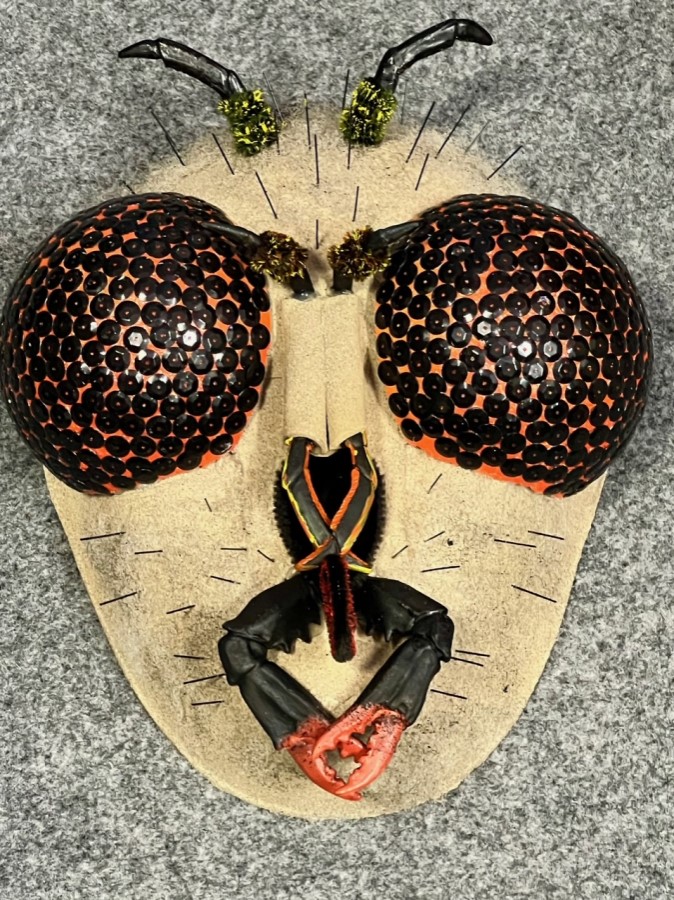
16. Adding pipe cleaners around antenna for texture and paint.

17. Using black bristles from scrub brush for more facial hairs.
18. Final face results.
19. Purchased two think black pipe cleaners to attach as front legs.
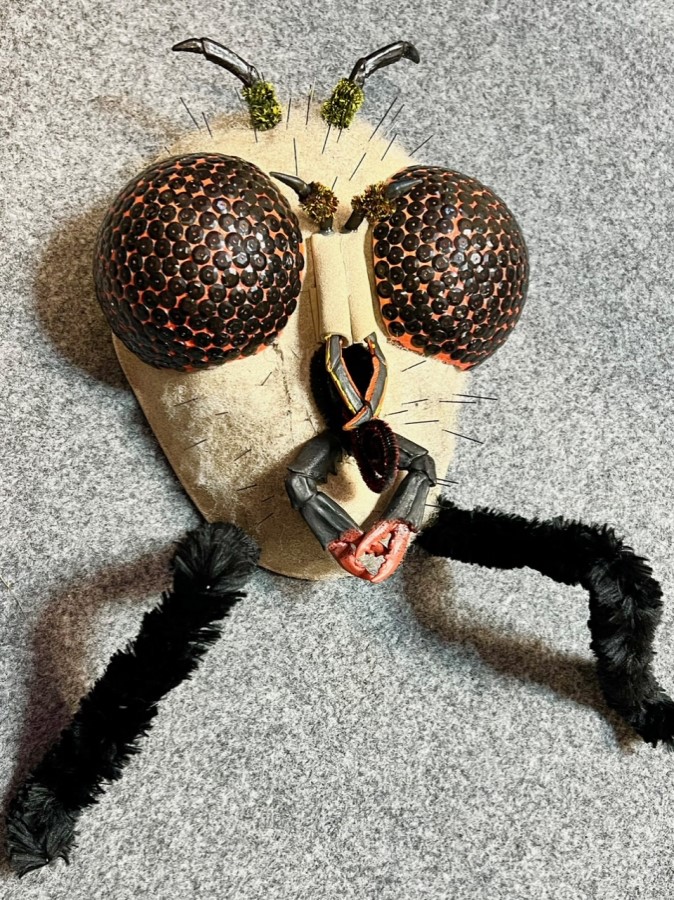
20. Another angle.
Be sure to purchase paper mâché masks. I’ve found they are the sturdiest over plastic, have good absorption for paints, glue adheres well and they are still easy enough to cut and modify.
Decide whether your mask will just be for display or will be worn. If wearing them, you will need to keep eye areas clear and have a good elastic band to keep them on your head. If just for display, I think just about anything goes... but we did use wire to place through the holes and on the back for hanging them.
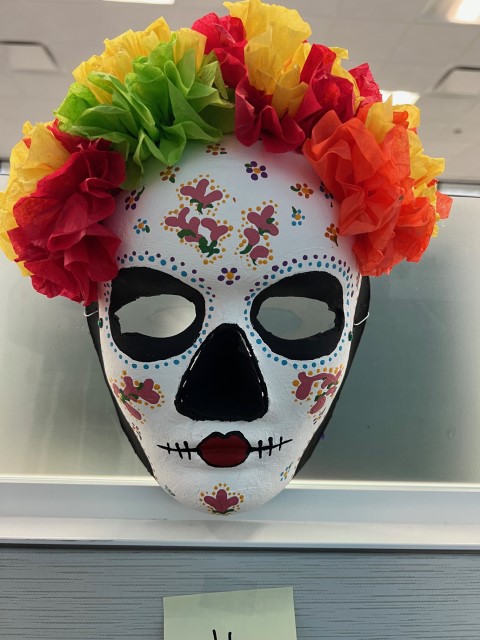
Remember, masks do not need to be just about Halloween. Or have to be scary. Masks are great to use any time to just be creative and share the process. How about making Santa Claus, elves or reindeer masks. Maybe Easter Bunny masks.
What kind of mask to make? No ideas coming to mind? Try searching Google Images for types of masks from around the world, or different events. Don’t just Google "Halloween masks" though or all you'll get are gory masks to purchase.
Once you know what you’d like to do, start looking around for materials to make it happen. Many can be obtained online (I’ve included several links at the bottom of the page for basic materials). A craft store or the Dollar Store can be a good source too.
Build up your masks in some areas to give depth to the original flat surface. For my Fly, I made large raised eyes. Some people added elongated noses, eye brows, hair, flowers, hats and so on. Air Clay could work well here if you keep it thin and not too heavy.
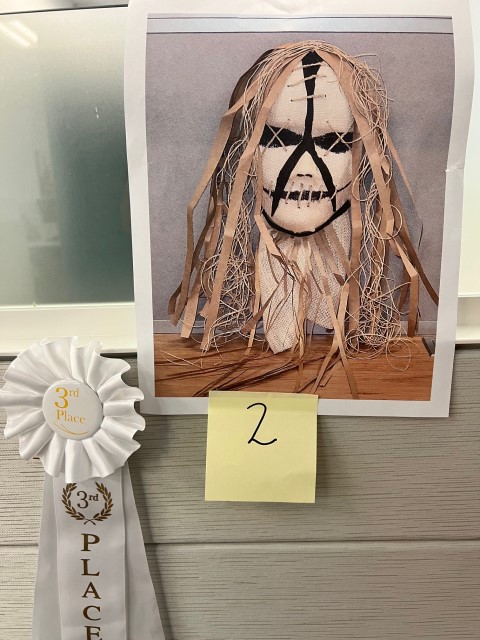
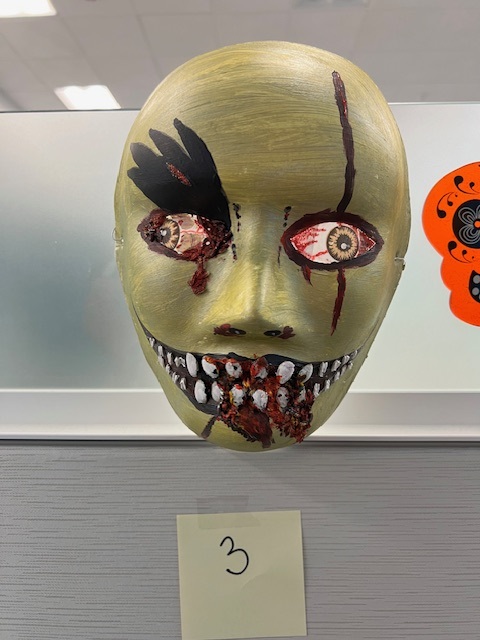
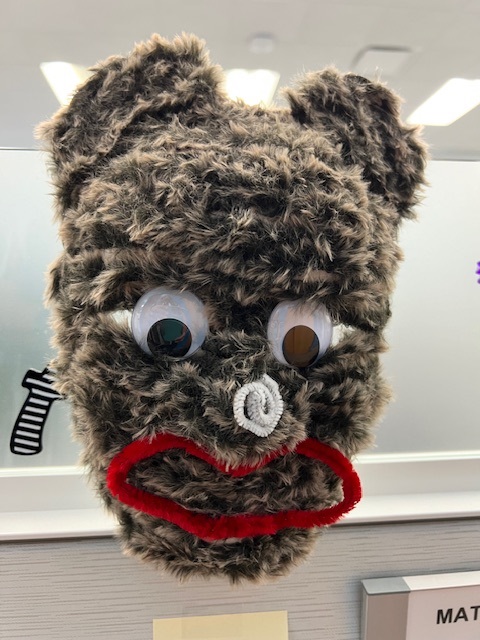
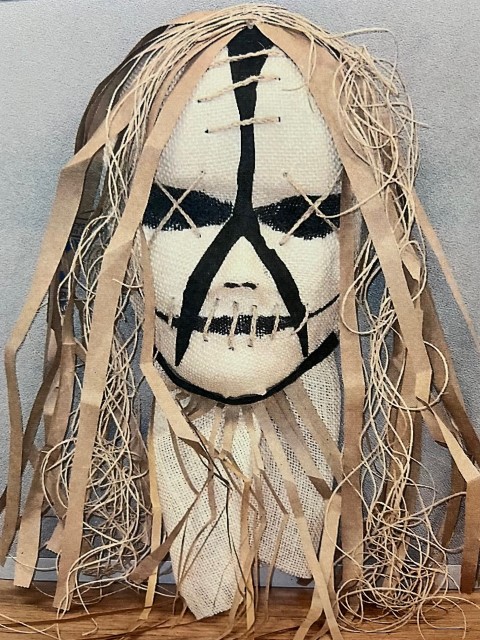
Don't forget about texture. I used spray adhesive and black bristles to add a fuzzy texture to the Fly face. The creator of the Old Man mask used Saran Wrap and Modge Podge to fabricate a wrinkled face and then painted it. The Strawman had stiches throughout the face.
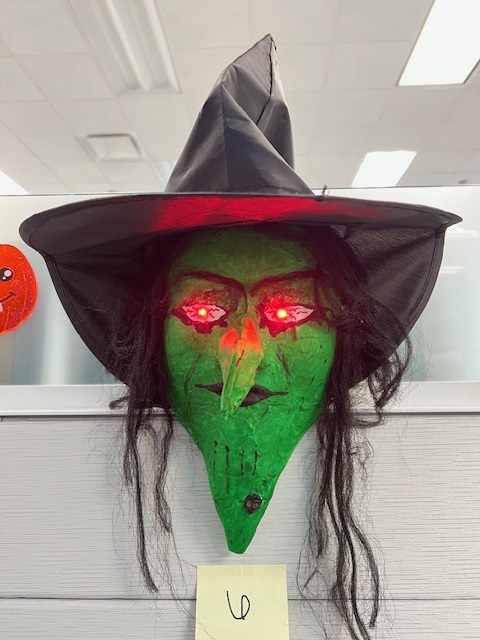
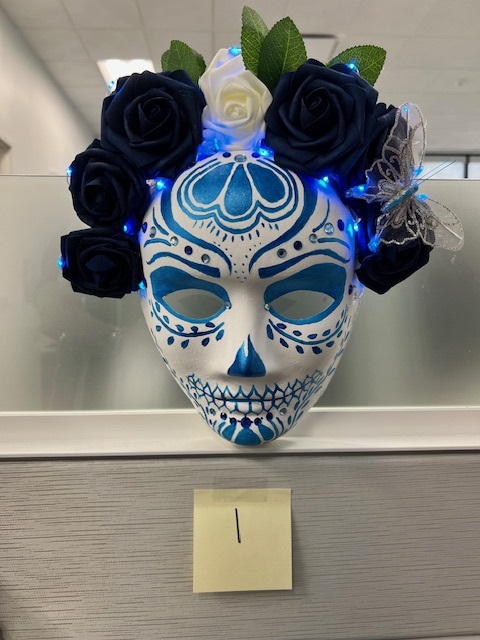
Several of my staff added lights to their masks and it had a really nice effect. These would be your small battery pack lights.
Once I knew what I wanted to do, and had the materials I thought I needed, I experimented with them on the mask using tape or pins. This way I had some idea of placement before I actually starting to paint or glue.
Last thought... be patient with yourself. If you are stumped or getting frustrated, walk away for a little bit and come back to it later on. Check around for other possible solutions that were used by others. Where there's a will, there's a way!