A healthy-looking chrysalis.

Something is not right here.

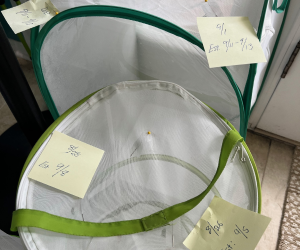
Post-it notes for day chrysalis formed, and an estimated emergence date.

When travel plans and emergence dates coincide... they go with me :-)

Turning lid of rearing container upside down for access to chrysalis.

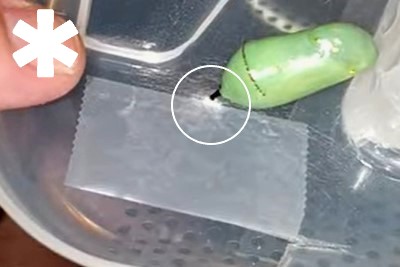
Using the tape method to detach and relocate a chrysalis.

Strip of tape placed alongside the black stem on one side

Another strip of tape on the other side.
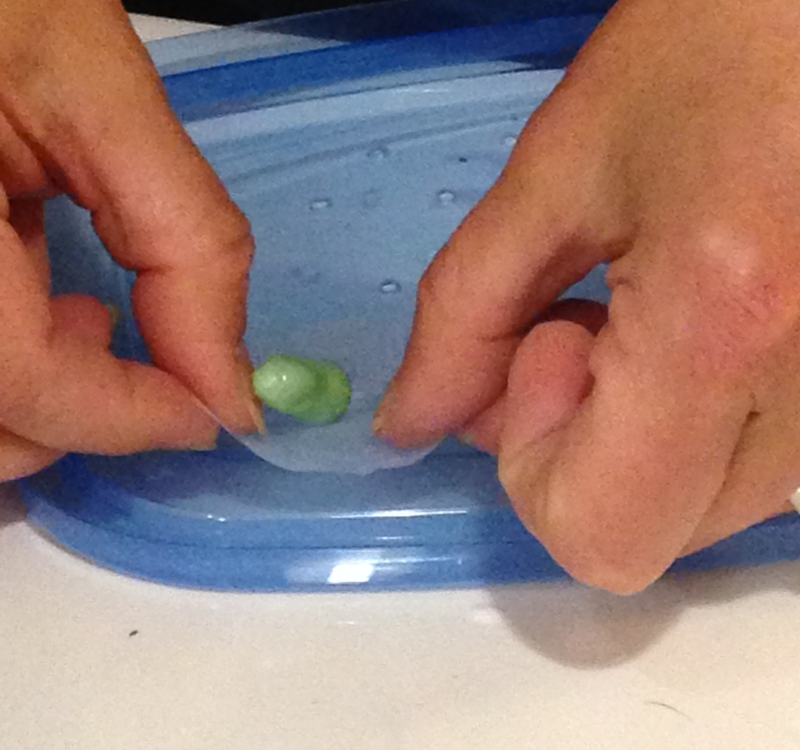
Lifting both pieces of tape together.

The silk webbing will come away with the tape.

Sticky sides of the tape pressed together.

Use a safety pin or straight pin to secure the tape to netting.

Label with estimated emergence dates. Allow adequate spacing.

Ready to emerge.

The faint outline of wings start to become visible.

The chrysalis appears almost black as the shell becomes more transparent.

Colors, and delicate patterns become visible.

Holding onto the empty chrysalis shell.

Excess fluid released from the abdomen.

Absorbing warmth in the mild sunshine.

Some tmporary nourishment when release gets delayed.

Perched on the edge of the net enclosure.

This one needed a little assist.

A very gentle persuasion for the last to go.